Panasonic Studio Cameras
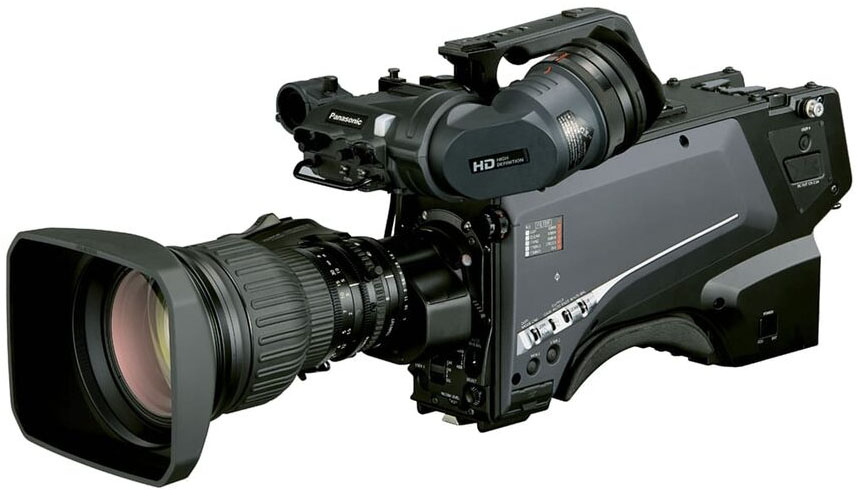
Panasonic studio cameras (AK-UC/AK-HC/AK-PLV series) are broadcast studio cameras controlled over IP. They connect to the Cyanview RCP or RIO via a standard Ethernet connection, either directly to the camera head or through a CCU. Typical use cases include multi-camera studio productions and live broadcasts requiring full paint control.
Supported Models
The following models are supported:
- AK-UC4000
- AK-UCX100
- AK-UC3300
- AK-PLV100GSJ
- AK-HC3900
Development was done using an AK-UC4000 and the integration has been confirmed working with the AK-PLV100. Other models in the AK-UC/AK-HC family should work but have not been tested yet.
Supported Controls
As a studio camera system, these models offer comprehensive control capabilities via RCP, and the integration supports virtually all available paint camera functions.
| Control | Notes | ✔ |
|---|---|---|
| Iris | ✔ | |
| Gain | ✔ | |
| Shutter | ✔ | |
| White Balance | Full paint | ✔ |
| Black / Pedestal | ✔ | |
| Gamma | ✔ | |
| Knee | ✔ | |
| Detail | ✔ | |
| Matrix | ✔ | |
| Tally | Via camera head only — see note under CCU below | ✔ |
| Menu / OSD | ✔ |
Connection
Panasonic studio cameras can be connected in two ways:
- Direct to camera head (no CCU): Connect your RCP or RIO via Ethernet to the camera's RJ45 port. The target IP address is the IP address of the camera head.
- Through a CCU: Connect your RCP or RIO via Ethernet to the CCU's network port. The target IP address is the IP address of the CCU, not the camera head. All controls are forwarded to the camera through the CCU.
Even though the camera has a serial remote control port, this is a legacy protocol that is not supported. IP control is the recommended method.
Configuration
Camera Configuration
Assign a static IP address to the camera head or CCU on the same subnet as the RCP. Consult the camera or CCU network menu to configure the IP address.
RCP Configuration
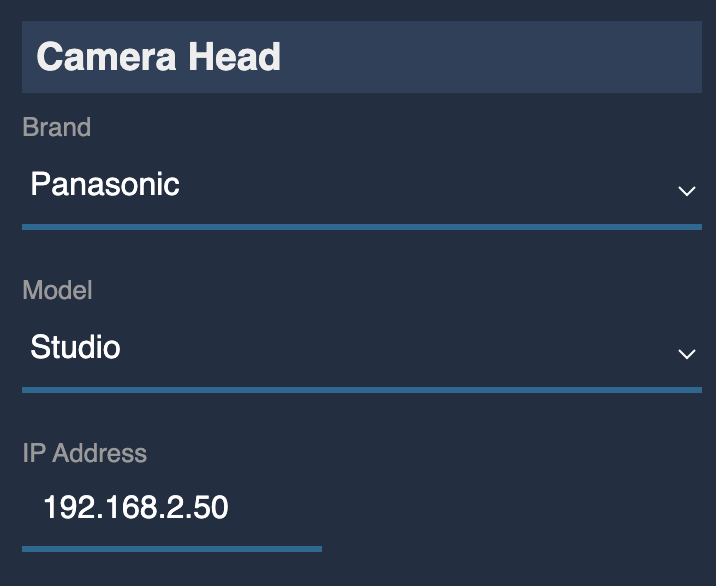
Add the camera as an IP camera. Use brand Panasonic and model Studio, then enter the IP address of the CCU or, if operating without a CCU, the IP address of the camera head.
When controlling through a CCU, tally is not forwarded by the RCP to the CCU. The only options to receive tally on a CCU-connected camera are a physical GPI connection or TSL sent directly to the CCU. Support for RCP-to-CCU TSL is planned for a future release.
Troubleshooting
Camera icon stays RED / camera not detected
Check in this order:
- Verify the target IP — confirm you entered the correct IP address for the camera head or CCU.
- Verify network connectivity — ping the camera or CCU from a computer on the same subnet.
- Check the RCP IP — the RCP must have an IP address in the same range as the camera or CCU. Follow this guide if needed.
- Power cycle — restart the camera or CCU and retry.
Tally not working with CCU
- Tally cannot be forwarded by the RCP through the CCU. Use a physical GPI connection or TSL sent directly to the CCU instead.
- If operating without a CCU, confirm the camera IP is entered directly and tally is enabled in the RCP tally configuration.