RED Komodo | Raptor
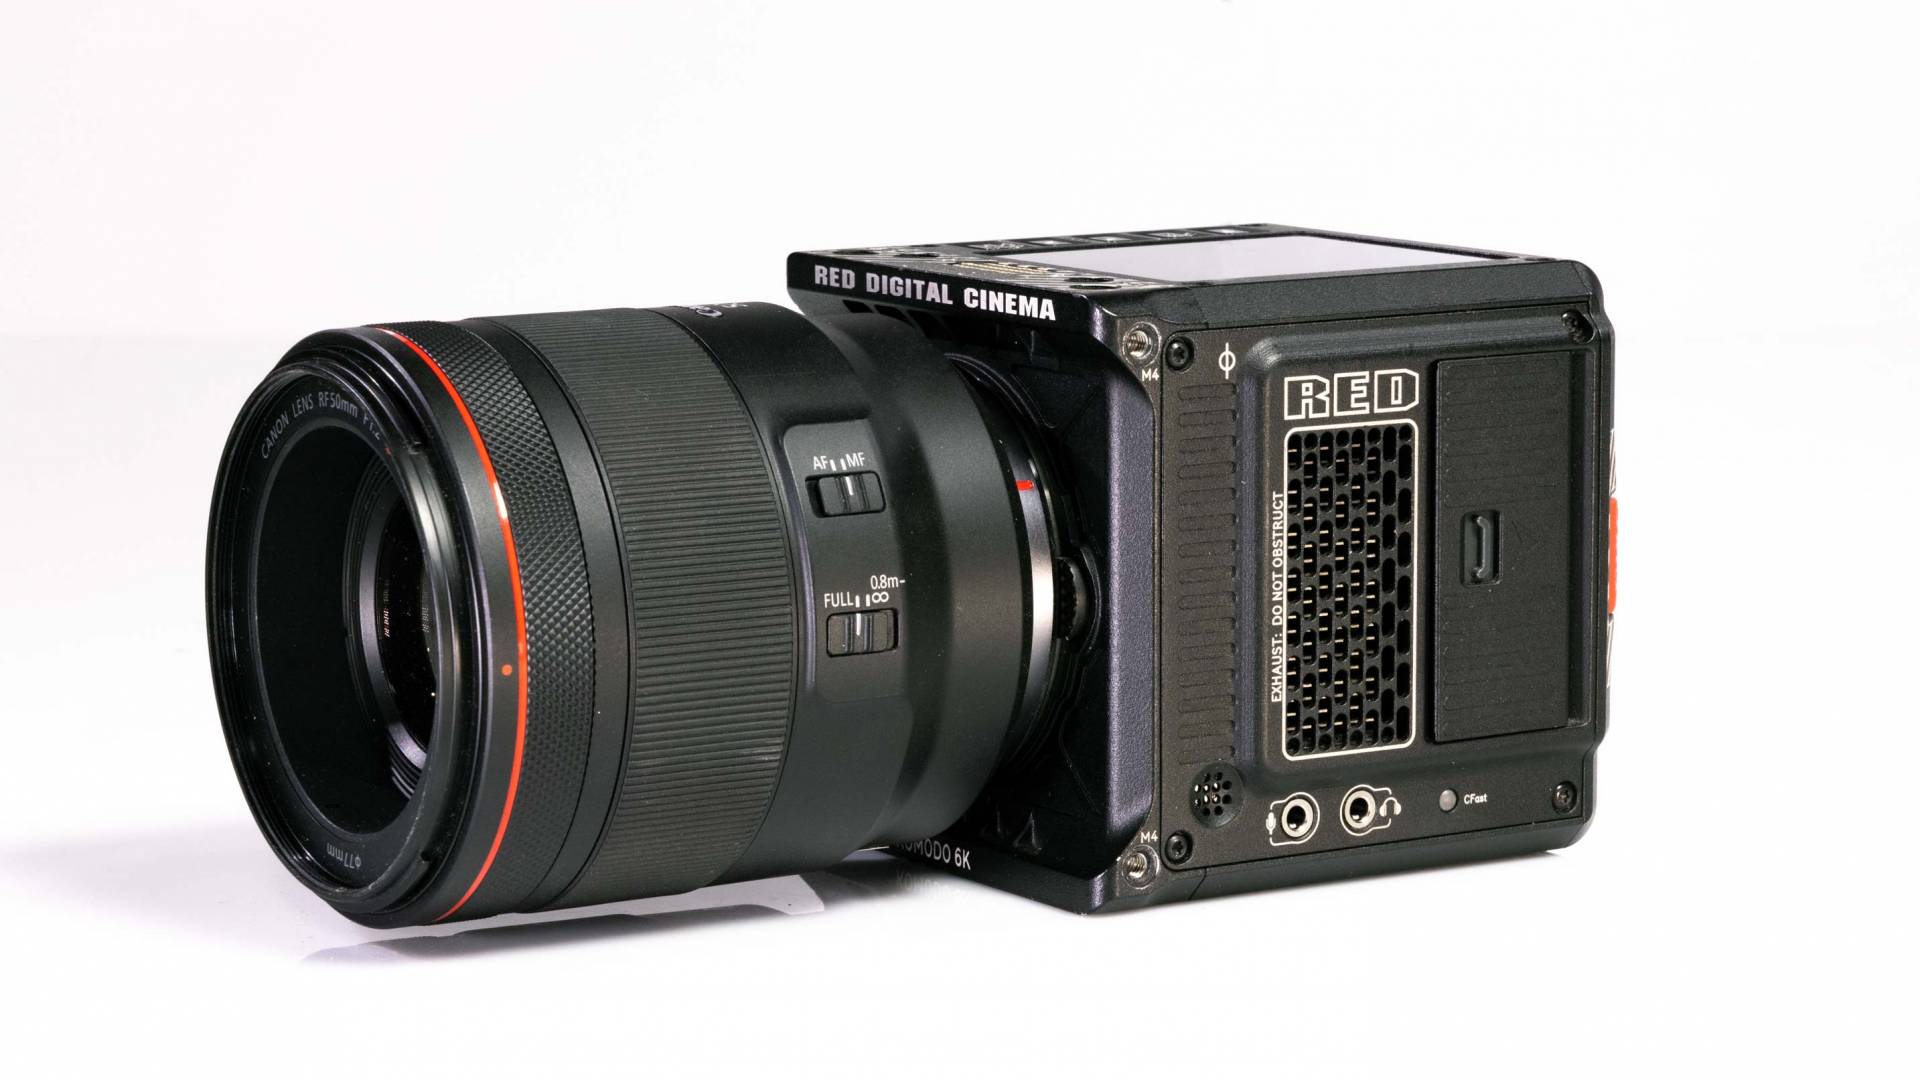
The RED Komodo and V-Raptor are cinema cameras controlled over IP. Both models use the same integration — select Komodo or V-Raptor in the RCP to match your camera. Typical use cases include narrative, documentary, and broadcast productions requiring remote shading.
Supported Models
- RED Komodo — select Komodo in the RCP
- RED V-Raptor — select V-Raptor in the RCP
Known Limitations
- Scene file load/save is not supported. All paint controls visible in the camera's web interface are available from the RCP, but scene file management must be done directly on the camera.
- OSD/menu control is not available. The Komodo and V-Raptor do not output OSD over SDI, so menu navigation from the RCP has no effect.
Supported Controls
| Control | Notes | ✔ |
|---|---|---|
| Iris | ✔ | |
| Shutter | Speed or angle; ECS; on/off | ✔ |
| Gain / ISO | ✔ | |
| Auto Exposure | ✔ | |
| White Balance | Auto (ATW), One Push, Manual | ✔ |
| R/B Gains | Color gains | ✔ |
| Master Black / Pedestal | ✔ | |
| Master Gamma | ✔ | |
| R/B Gamma | ✔ | |
| OETF / Tone Curve | Selectable per active color space | ✔ |
| Saturation | ✔ | |
| Matrix / Color Space | Preset selection; ON/OFF toggle | ✔ |
| Knee / White Clip | ✔ | |
| LUT | Upload, navigate, set, clear, and toggle LUTs | ✔ |
| Record | Trigger and status; group record | ✔ |
| Tally | Red | ✔ |
| Lens | Iris, Focus, Zoom | ✔ |
Connection
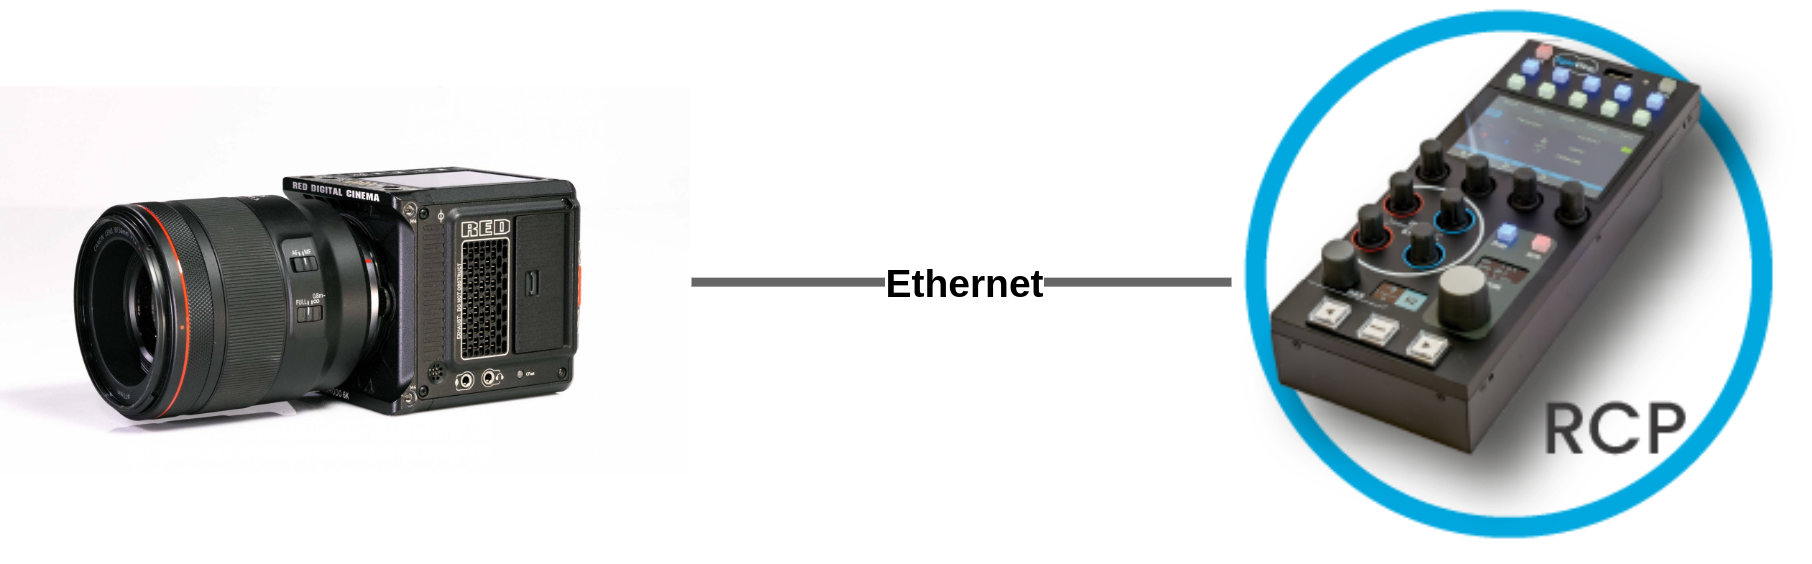
The RED Komodo and V-Raptor connect over IP/Ethernet. Connect the camera and your RCP or RIO to the same network.
Configuration
Camera Configuration
Ensure the camera is connected to the same network as the RCP and has a valid IP address. Consult the camera's network settings to assign a static IP if needed.
RCP Configuration
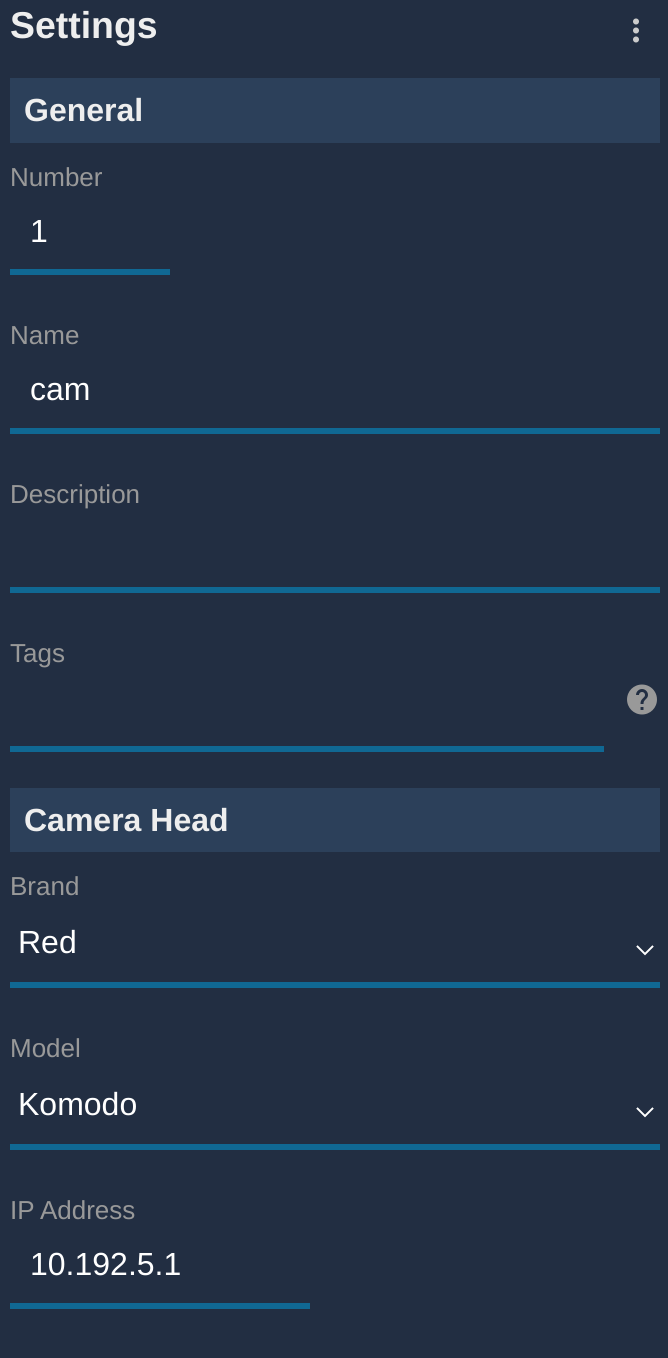
Add the camera as an IP camera. Use brand Red and model Komodo or V-Raptor to match your camera, then enter the camera's IP address.
Operations
White Balance
Path: MENU > PAINT > WHITE
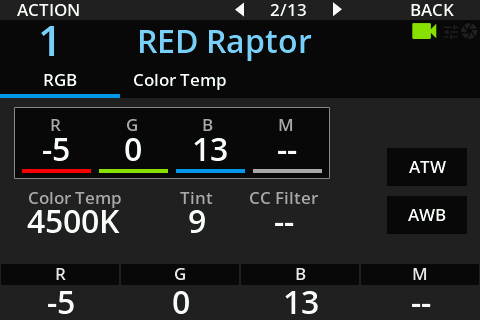
Click on the first row to control R/G/B using encoders. Click on the second row to switch to color temp and tint.
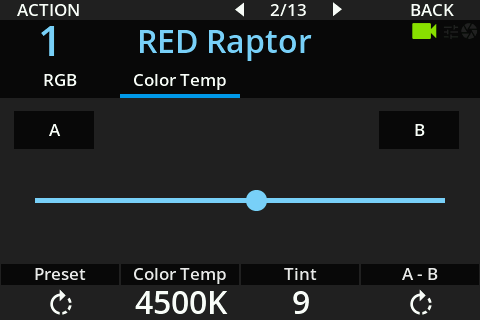
Available controls:
- Presets — navigate through preset color temperatures (2800K, 3200K, 3800K, 4500K, 5600K, 7000K, 9000K)
- Color Temp — variable color temperature based on camera steps
- Tint
- Action (menu) — set A and B boundaries (minimum/maximum) for color temp
- A/B — direct access to A and B boundaries
- Slider — move variable color temp between A and B boundaries
- A-B encoder — move variable color temp between A and B boundaries
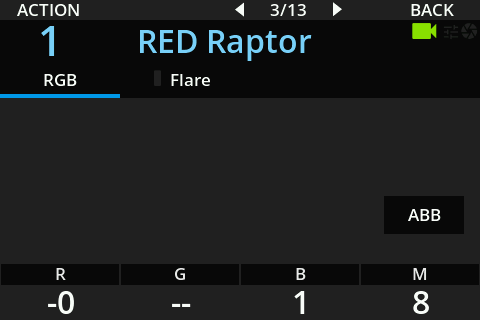
Black Balance
Path: MENU > PAINT > BLACK
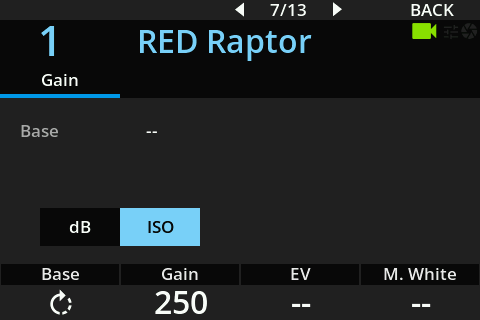
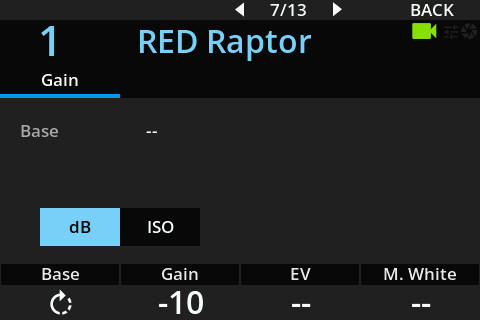
ISO / dB
Path: MENU > PAINT > Gain
Matrix / Color Space
Path: MENU > PAINT > Matrix
Change presets:
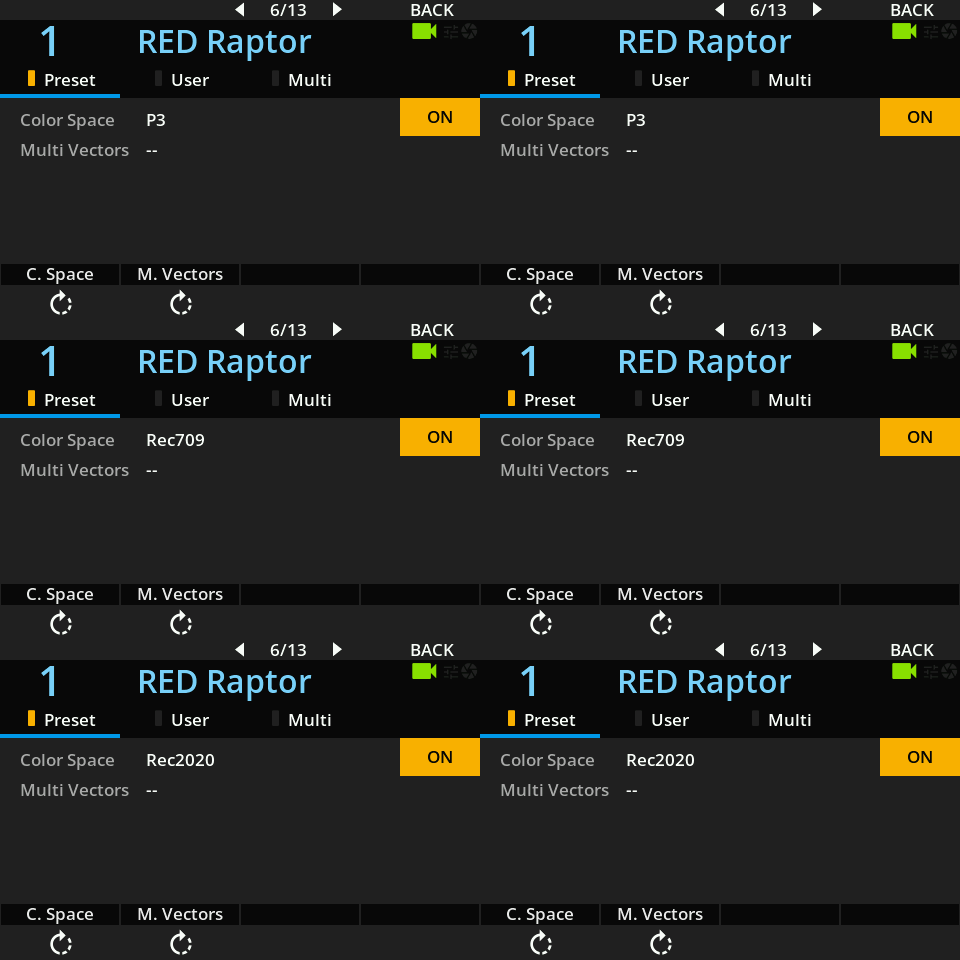
Enable or disable the matrix with the ON/OFF button.
Gamma
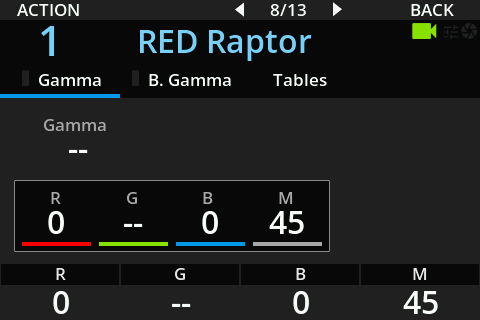
Path: MENU > PAINT > Gamma
Change R/B/M gamma:
Change OETF in Tables:

Change Tone Curve:
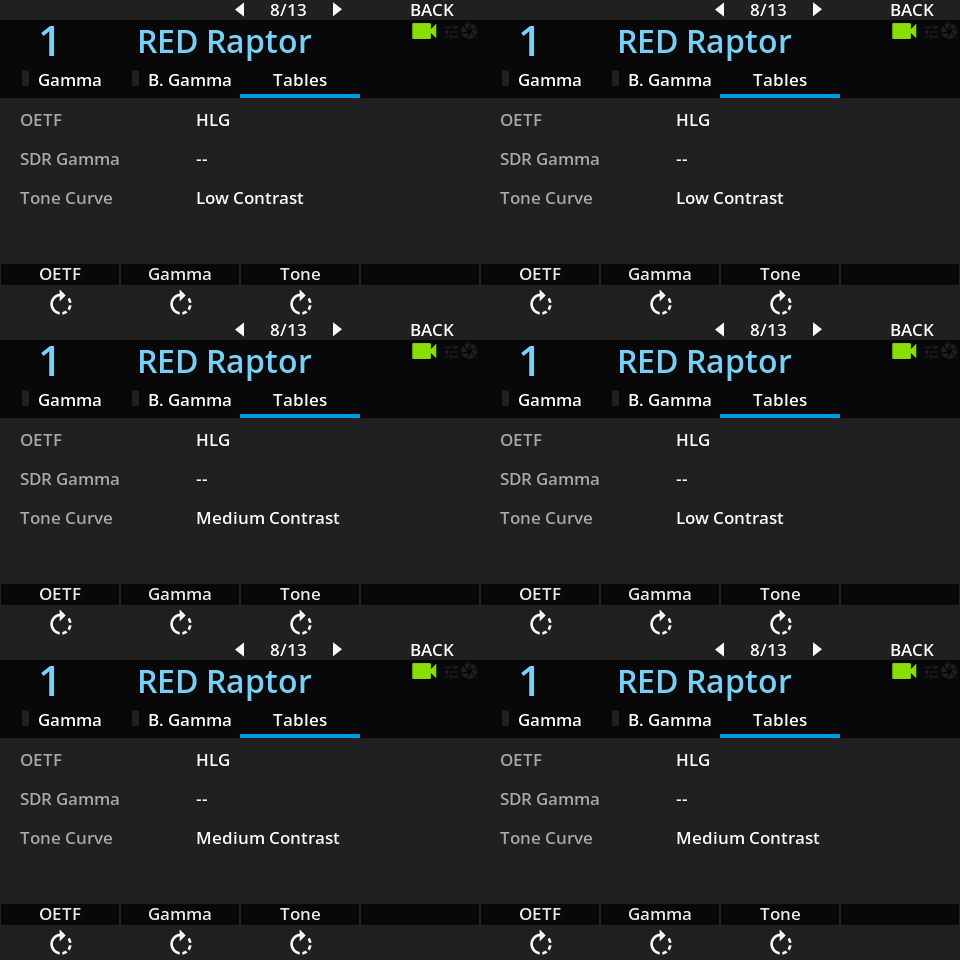
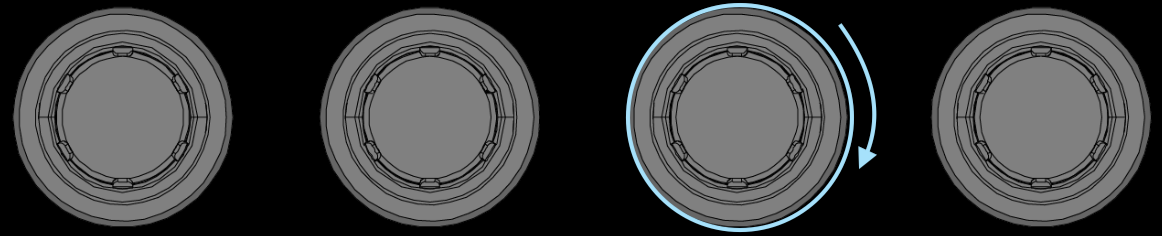
The OETF list updates based on the Color Space selected in the camera. Check: MENU > PAINT > Matrix > Preset.
Shutter
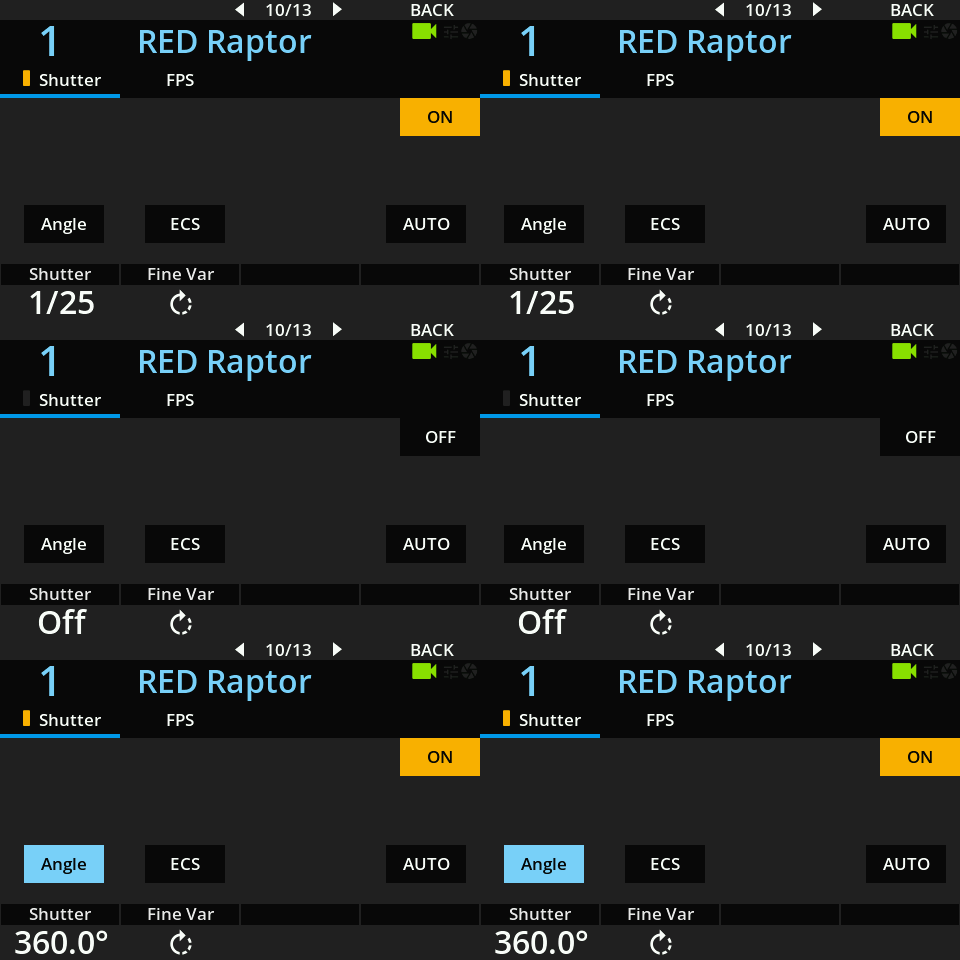
Path: MENU > PAINT > SHUTTER
Available controls: shutter on/off, speed or angle, ECS.
White Clip / Knee
Path: MENU > PAINT > KNEE

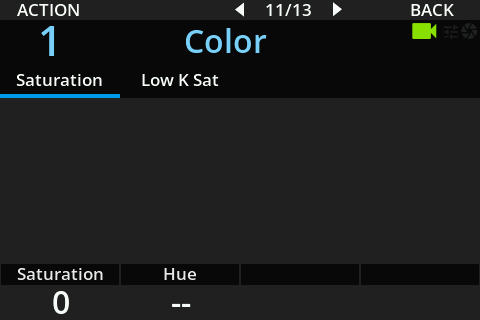
Saturation
Path: MENU > PAINT > COLOR
LUT
Path: MENU > PAINT > LOOK
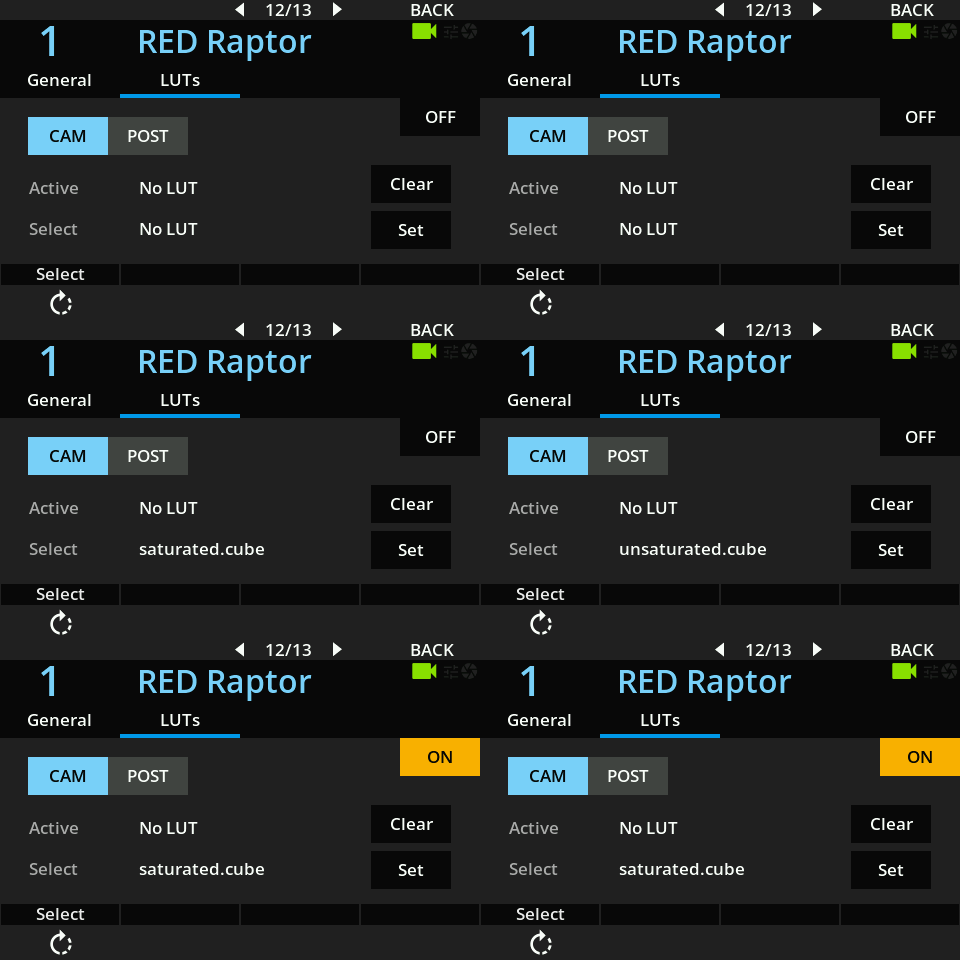
Upload LUTs to the RCP — see 3D LUT import/export. You can then navigate through the LUT list.
- Clear — sets the LUT to
Noneon the camera - Set — uploads the selected LUT to the camera
- ON/OFF — toggles the LUT
Record / Timecode
Path: MENU > RECORD
View the TC from the camera and trigger REC from the RCP.
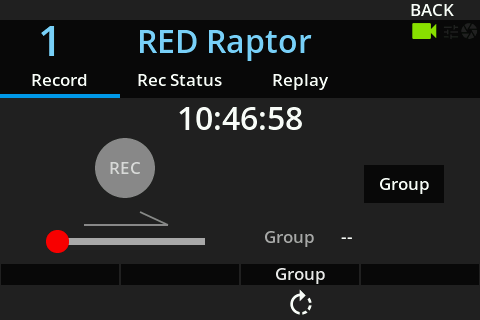
Select a group and toggle it using the Group button to trigger REC on all cameras in the group simultaneously. This applies to cameras configured or imported on the RCP — typically an RCP with an unlimited/broadcast licence is used as an MSU for this purpose.
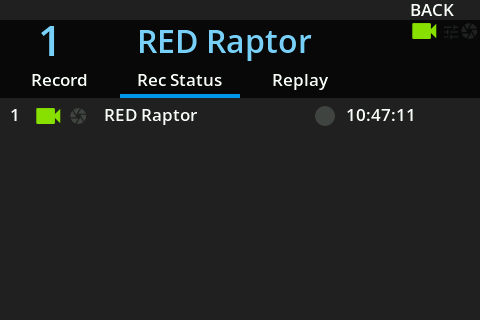
View all cameras, their TC, and their REC status:
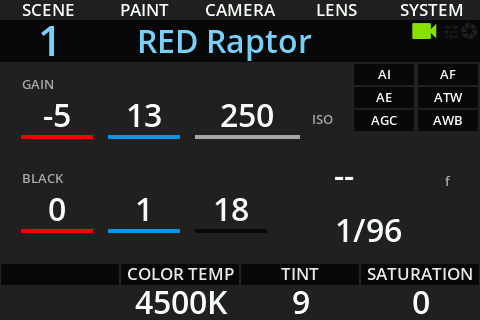
Main RCP View
Troubleshooting
Camera icon stays RED / camera not detected
Check in this order:
- Verify the camera IP address — confirm you entered the correct IP in the RCP and the camera is reachable on the network.
- Ping the camera from a computer — set the computer to the same IP range and ping the camera IP to confirm basic network connectivity.
- Ping the RCP from the same computer — confirms the RCP and camera are on the same subnet.
- Check the RCP IP — the RCP must have an IP address in the same range as the camera. Follow this guide.
- Power cycle — restart the camera and retry.
A specific parameter is not controllable
- Scene file load/save is not supported — manage scene files directly on the camera.
- OSD/menu control is not available on these models.
- The OETF list in Gamma/Tables updates dynamically based on the active Color Space — if an expected option is missing, check the selected Matrix preset first.
LUT not applying
- Confirm the LUT is uploaded to the RCP before attempting to set it on the camera.
- Use Clear before Set if a previous LUT is stuck on the camera.