Panasonic AW-UB10 and AW-UB50
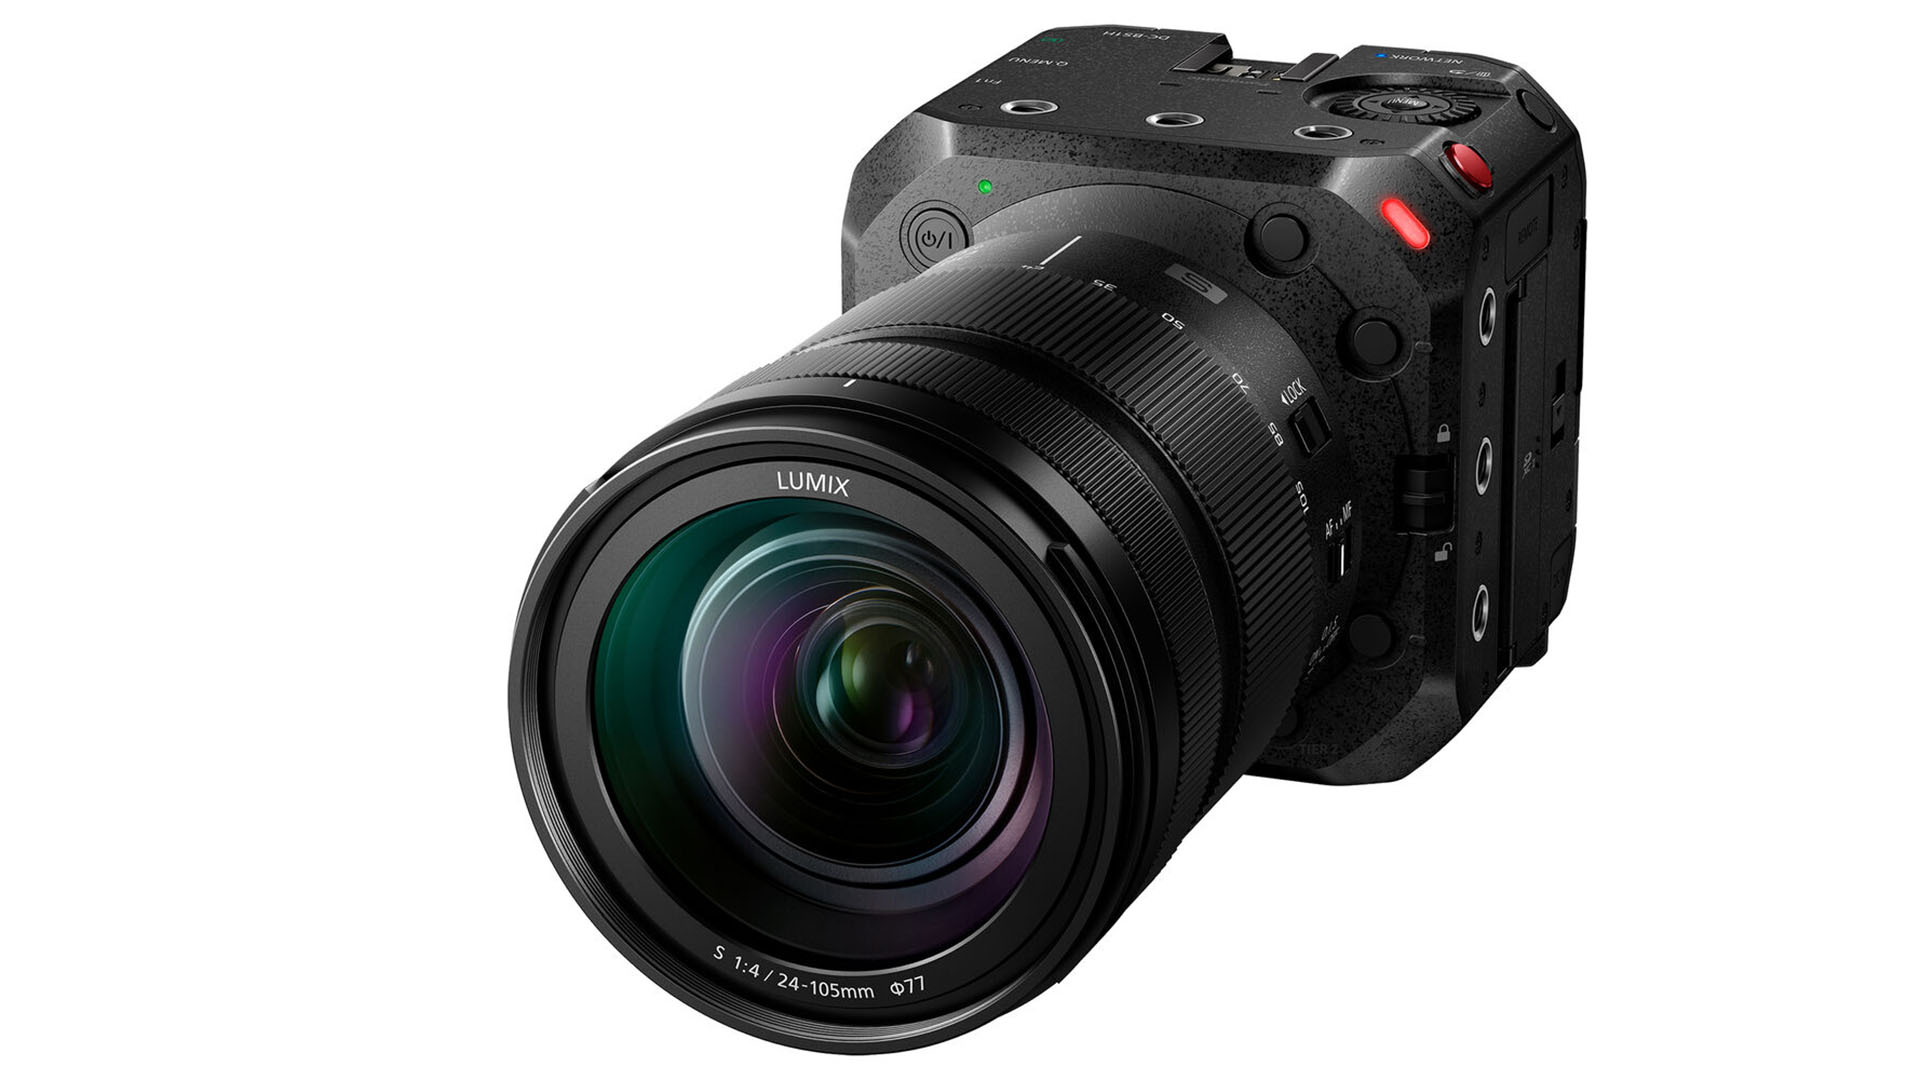
The Panasonic AW-UB10 and AW-UB50 are IP block cameras controlled over Ethernet using the same protocol as Panasonic hardware controllers (e.g. the RP150). They connect to the Cyanview RCP via a standard RJ45 Ethernet connection — no special interface is required. Typical use cases include live broadcast and studio productions where compact block cameras are needed.
Supported Models
The control protocol and features are identical for all models in this range.
- AW-UB10
- AW-UB50
Supported Controls
| Control | Notes | All models |
|---|---|---|
| Iris | Manual and Auto | ✔ |
| Gain | Manual and Auto | ✔ |
| Shutter | Manual and Auto | ✔ |
| Syncro Scan | ✔ | |
| White Balance | R/B and Color temperature | ✔ |
| ATW / Manual | ✔ | |
| Black Level | Master, R/B | ✔ |
| Detail | ✔ | |
| Skin Detail | ✔ | |
| Knee | Point and Slope | ✔ |
| User Matrix | 6-value user matrix | ✔ |
| Multi Matrix | 16 vectors | ✔ |
| Lens | Zoom, Focus, Auto-focus | ✔ |
| Digital Zoom | ✔ | |
| Menu Navigation | ✔ | |
| Tally | Red only | ✔ |
| Bars | ✔ | |
| Record | — | — |
Connection
The camera is controlled over IP using the Panasonic remote controller protocol. For reference, see the Remote Operations > Controlling with Controller section in the camera manual.
The camera is equipped with a standard RJ45 Ethernet connector — no special hardware is required on the camera side. Connect it to the same network as the RCP.
Configuration
Camera Configuration
Credentials Setup
Use the credentials assigned by EasyIP SetupTool and not the login and password configured directly on the camera (those are for Lumix Tether).
The camera requires login credentials that differ from those configurable directly on the camera. To set the correct credentials, use either:
- EasyIP SetupTool Plus, or
- Media Production Suite
RCP Configuration
Add the camera as an IP camera.
- Select brand Panasonic and the appropriate UB model.
- Enter the camera IP address.
- Enter the login and password set via EasyIP SetupTool (not the camera's own credentials).
Troubleshooting
Camera icon stays RED / camera not detected
Check in this order:
- Verify credentials — confirm the login and password entered in the RCP were set using EasyIP SetupTool and not the camera's own credential system (see Camera Configuration).
- Ping the camera from a computer — set the computer to the same IP range and ping the camera IP to confirm basic network connectivity.
- Ping the RCP from the same computer — confirms the RCP and camera are on the same subnet.
- Check the RCP IP address — the RCP must have an IP in the same range as the camera; follow this guide.
- Power cycle — restart the camera and retry.
- Check the cable — try a different Ethernet cable or port on the switch.
A specific parameter is not controllable
- Confirm the correct model is selected in the RCP.
- Verify both the camera and RCP/RIO are on current firmware.
- Some controls (e.g. certain matrix or detail parameters) may be unavailable depending on the active signal format or color space.