ARRI CAP and Multicam
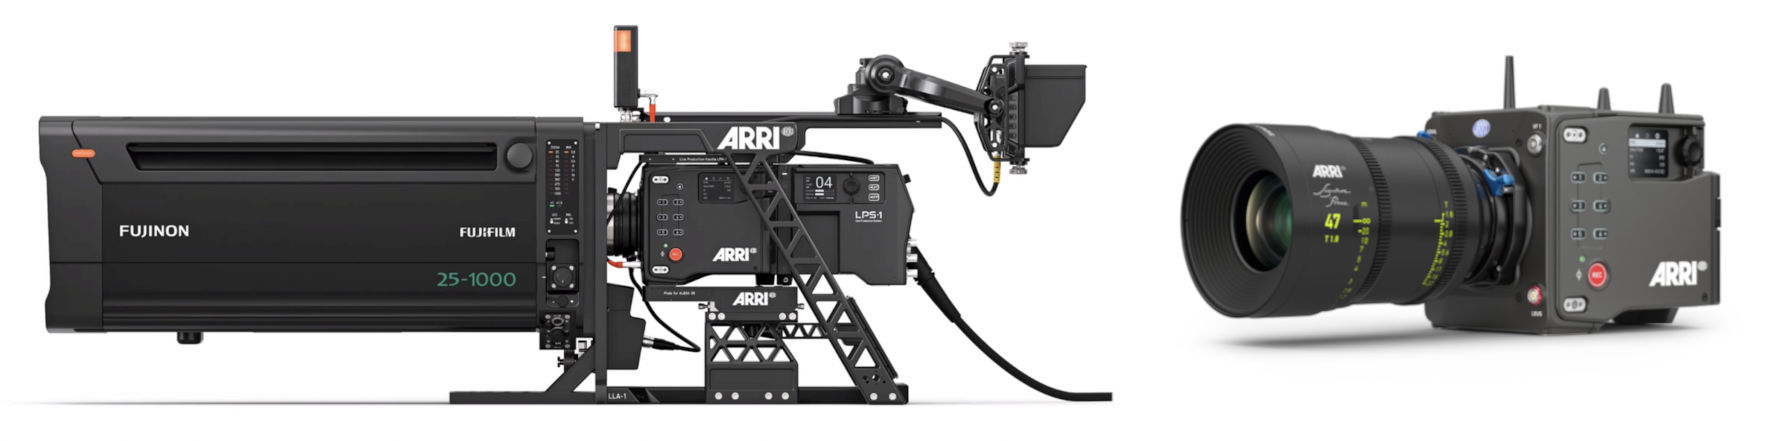
ARRI Alexa cameras are controlled over IP using either the CAP (Camera Access Protocol) or Multicam protocol. They connect to the Cyanview RCP directly via Ethernet or through a CCU in Live Production System workflows. Typical use cases include high-end film and broadcast production, remote shading, and multi-camera live events.
Supported Models
- ARRI Alexa 35 Live — requires the Live option (hardware or software); use Multicam mode
- ARRI Alexa 35 — use CAP mode
- ARRI Alexa Mini — use CAP mode
- ARRI Alexa Mini LF — use CAP mode
- ARRI Amira — use CAP mode; additional controls available with SSCP
Alexa 35 Live software is still evolving. Keep camera software and RCP/RIO firmware up to date.
Protocol Selection
This camera can be configured in two modes in the RCP:
- CAP — Uses the Camera Access Protocol over IP. Provides standard exposure, white balance, tally, record, and file management controls. Best for all Alexa models without the Live option.
- Multicam — Uses the Multicam protocol over IP. Provides full paint controls (white gain, black level, black gamma, knee, CDL, multi-matrix) in addition to all CAP controls. Required for Alexa 35 Live.
When using Multicam with the Alexa 35 Live in an LPS-1 setup, connect to the CCU IP address — not the camera head IP. For the Live software option without hardware, connect directly to the camera head IP.
Supported Controls
| Control | Notes | CAP | Multicam |
|---|---|---|---|
| Iris | T-stop | ✔ | ✔ |
| ND | ND filter | ✔ | ✔ |
| Shutter | Shutter time/angle | ✔ | ✔ |
| Gain / EI | EI ISO list from camera | ✔ | ✔ |
| Gain Mode | Normal / Enhanced sensitivity | ✔ | ✔ |
| White Balance | Color temperature and tint | ✔ | ✔ |
| White Gain | M+RGB | — | ✔ |
| Auto White | One-shot AWB | ✔ | ✔ |
| Black Level | Pedestal M+RGB | — | ✔ |
| Black Gamma | M+RGB | — | ✔ |
| Knee | Knee point and slope | — | ✔ |
| Cinema Knee | Dashboard only | — | ✔ |
| Saturation | Part of CDL | ✔ | ✔ |
| Color Correction (Multimatrix) | 6 segments of HSL correction | — | ✔ |
| Lift + CDL | Lift, power, slope, offset — M+RGB; dashboard only | — | ✔ |
| Audio Gain | 4 channels | ✔ | ✔ |
| Bars / Pattern | Bars, black, RP198 | ✔ | ✔ |
| Tally | Red only | ✔ | ✔ |
| Timecode | Display recording or playback timecode | ✔ | ✔ |
| Record | ON/OFF | ✔ | ✔ |
| Playback Control | Play, pause, speed, clip skip | ✔ | ✔ |
| Playback Status | Current clip, total clips | ✔ | ✔ |
| Look Files | List/add/install/delete/rename/load/save; dashboard only | ✔ | ✔ |
| Textures | List/load/delete/upload; dashboard only | ✔ | ✔ |
| Lens Tables | List/upload/install/delete/load/unload; dashboard only | ✔ | ✔ |
Some controls (Cinema Knee, Lift + CDL, Look Files, Textures, Lens Tables) are not available from the RCP UI and must be operated from the dashboard on a second screen. See the Multi-Cam Dashboard guide.
Connection
Alexa 35 Live — Multicam
The ARRI Alexa connects over IP/Ethernet:
- Direct Ethernet: Connect the RCP directly to the camera's Ethernet port.
- Via CCU (LPS-1): In a Live Production System setup, connect the RCP to the CCU over IP. Use the CCU IP address, not the camera head IP.

When using the Live Production System LPS-1, the RCP communicates with the CCU over IP. Use the CCU IP address in Cyanview configuration (not the camera head IP) and select model Multicam.
When the Alexa 35 is used with the Live software option only (without the hardware package), the RCP connects directly to the camera head over IP. In this case as well, select Multicam.
Standard CAP Workflow
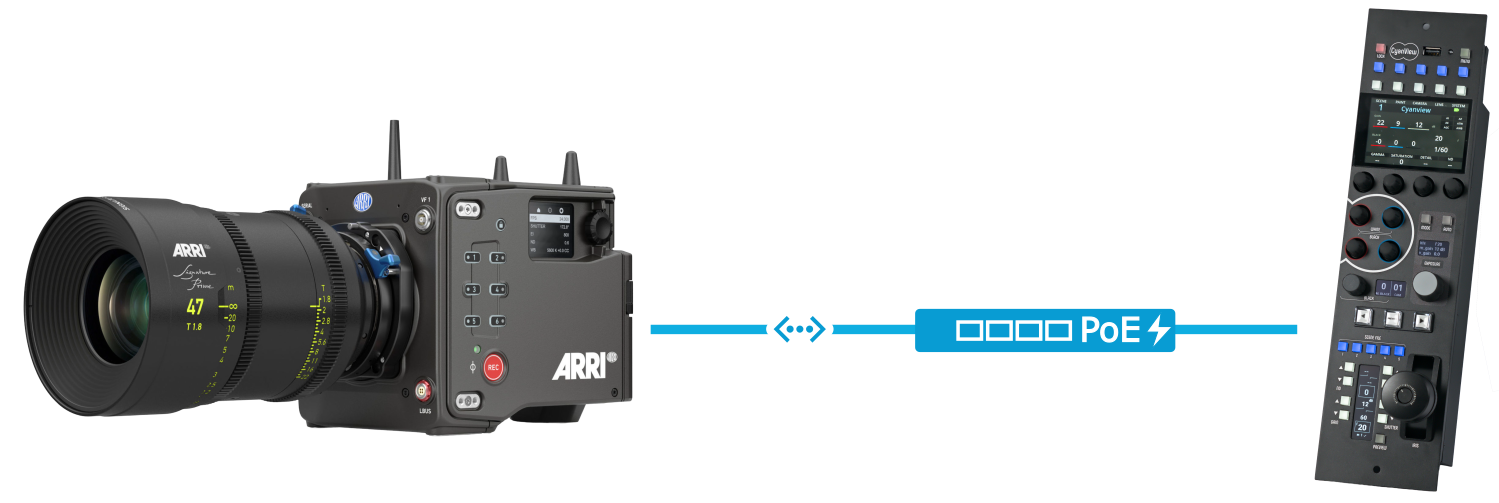
All ARRI cameras can be controlled through standard CAP commands. Use model CAP and connect the RCP directly to the camera over IP. Connecting directly to the camera's Ethernet port typically requires a specific 10-pin LEMO to RJ45 cable (such as the ARRI KC 153-S), depending on the camera model.
Required Accessories
Required:
- 10-pin LEMO to RJ45 cable (e.g. ARRI KC 153-S) — required for cameras without a standard RJ45 Ethernet port; cable model varies by camera body
Configuration
Camera Configuration
Configure the following settings directly on the camera:
Network / IP Settings
Set a static IP address on the camera so the RCP can reliably reach it.
Remote Control Enable
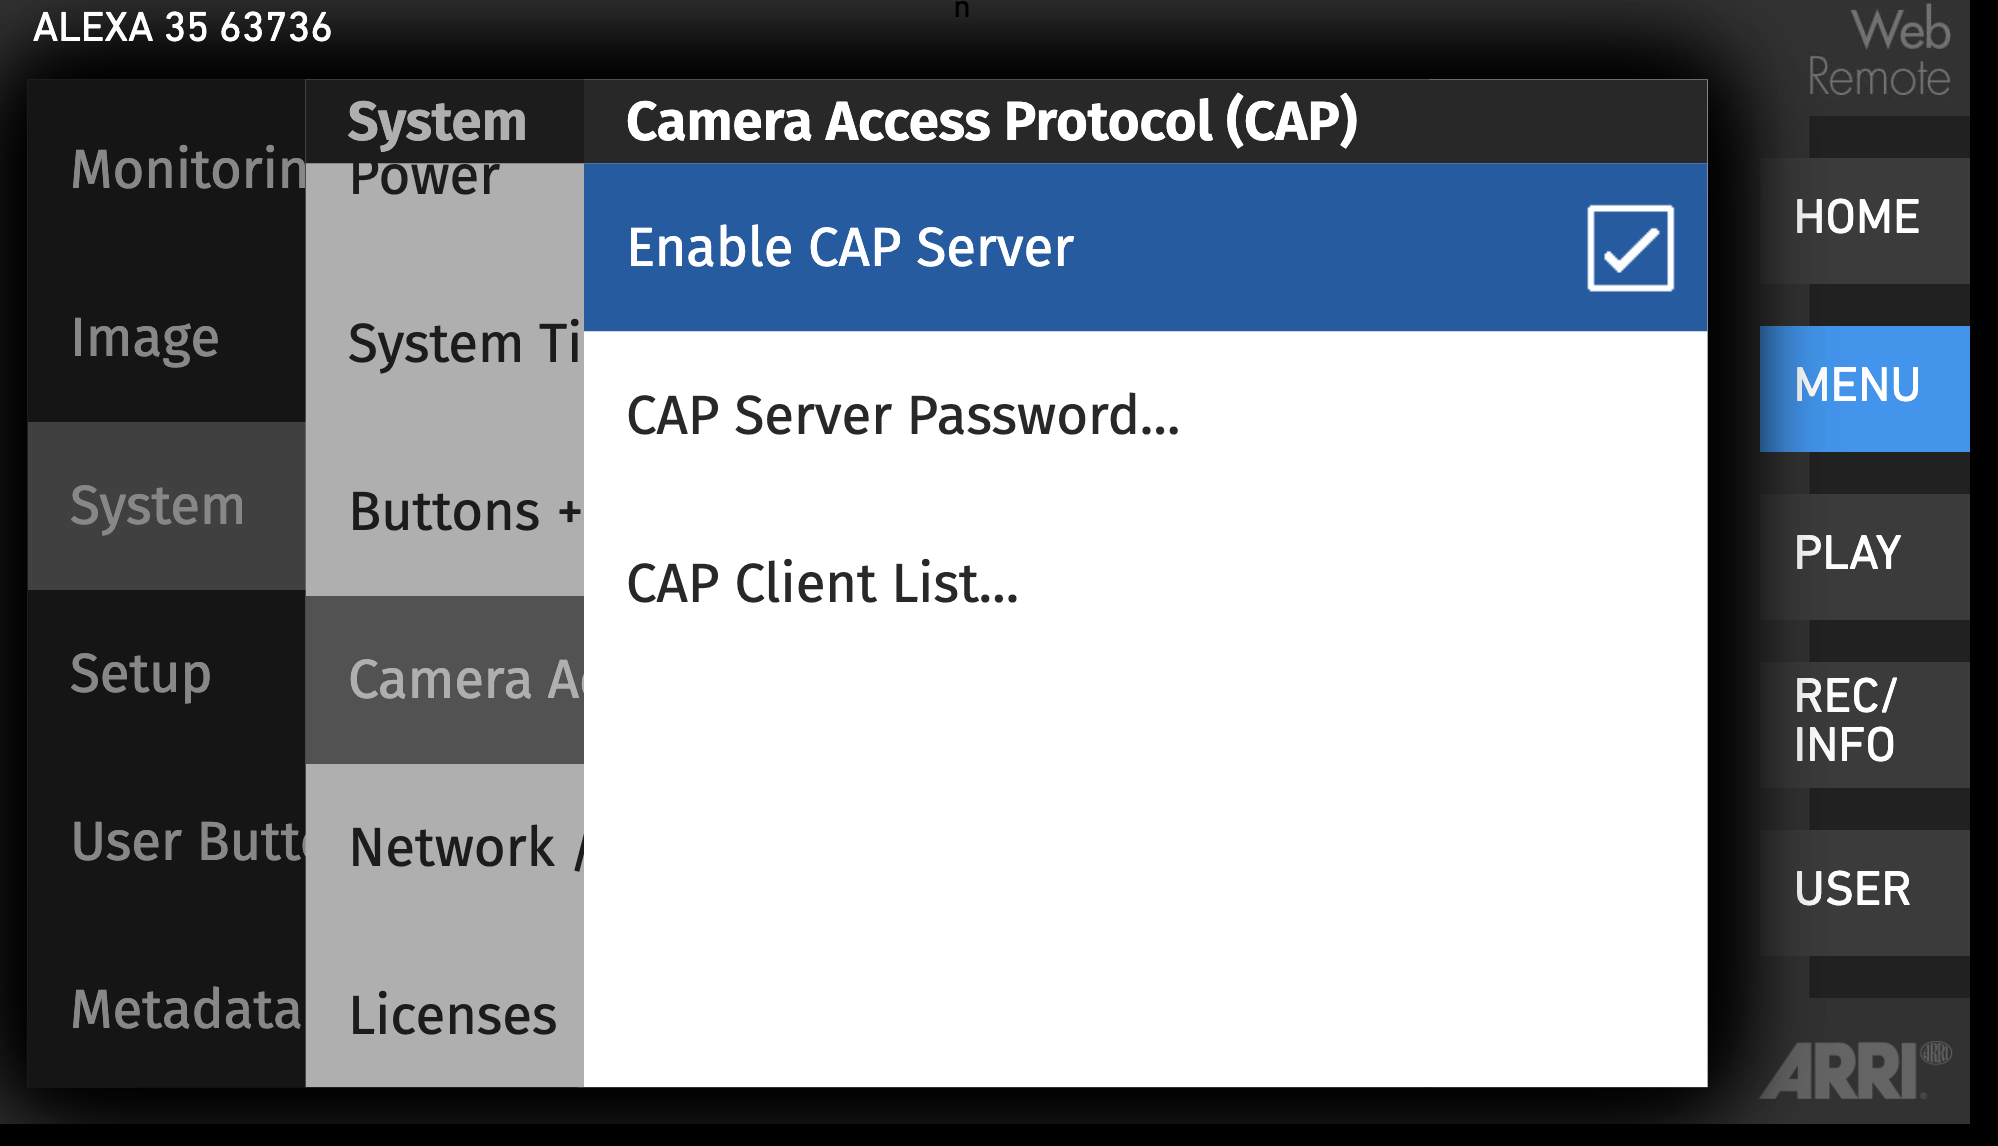
In System > Camera Access Protocol (CAP):
- Enable CAP control
- Keep
CAP Server Passwordset toarri(this is the default expected by the RCP)
If using Live/Multicam, enable the related Multicam menus and options on the camera.
For paint controls in Multicam mode, ensure a compatible look is loaded on the camera.
RCP Configuration
Add the camera as an IP camera. Use brand ARRI and choose the model according to workflow:
- Multicam — for Alexa 35 Live workflows; enter the CCU IP for LPS-1, or the camera head IP for the Live software option
- CAP — for standard CAP workflows; enter the camera IP
If cforce motors or a servo lens are connected directly to the camera, do not enable external lens control on the RCP — enabling it overrides camera-driven lens control by a direct connection to a RIO.
Operations
Dashboard Controls
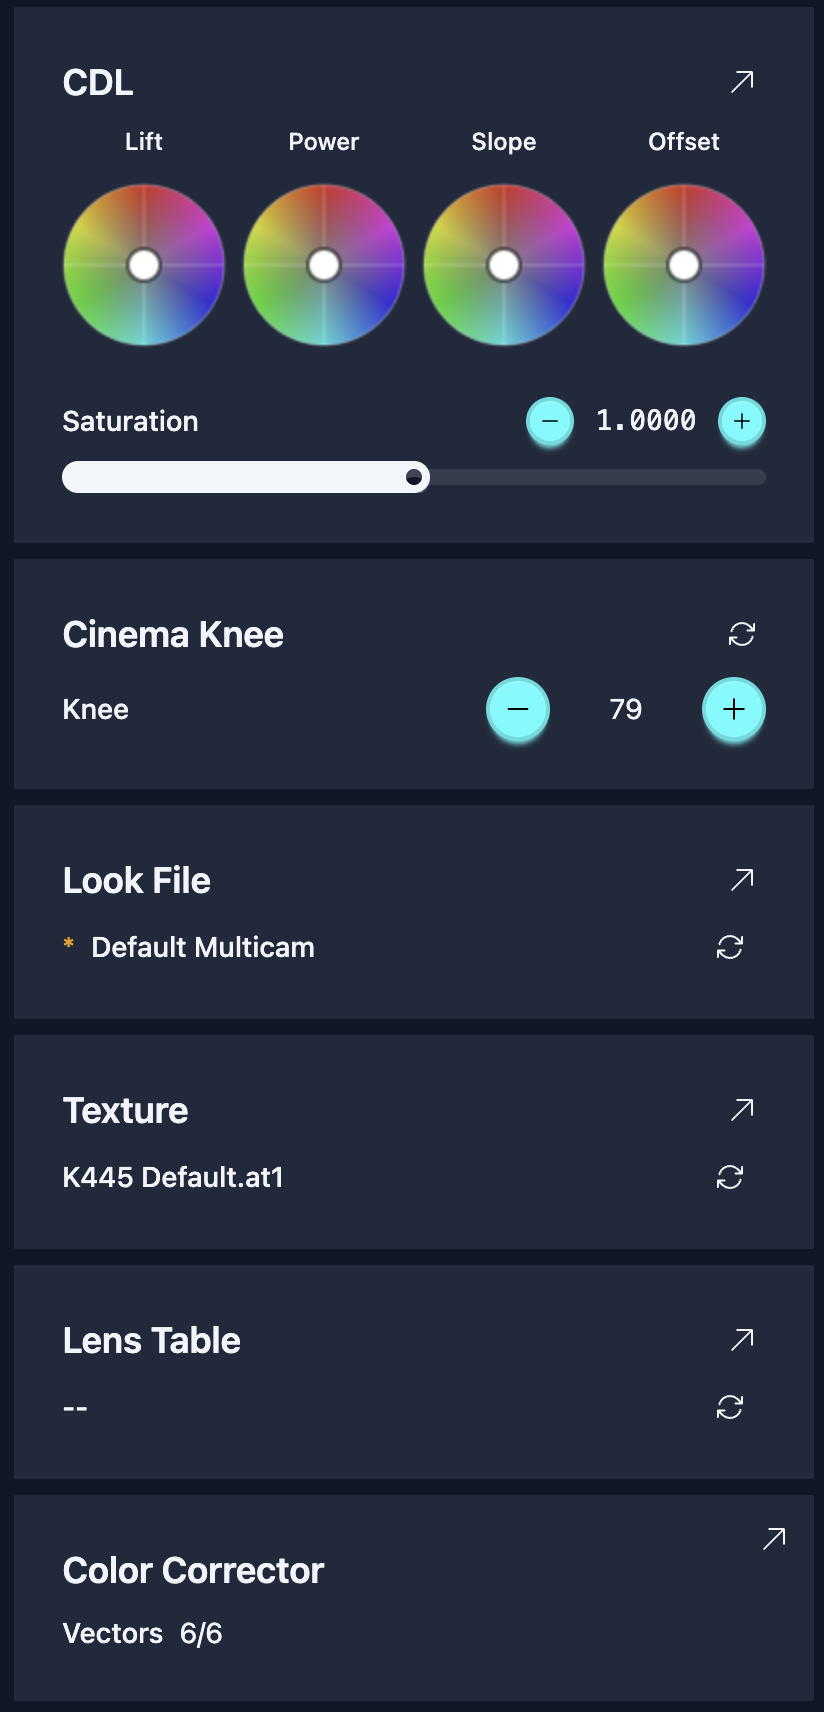
Some functions are available in the dashboard only and must be operated from a second screen. For details, see the Multi-Cam Dashboard guide.
ARRI Dashboard setup:
Troubleshooting
Keep camera and RCP/RIO software up to date as a general precaution.
Camera icon stays RED / camera not detected
Check in this order:
- Verify camera settings — confirm CAP is enabled, the CAP password is
arri, and the camera has a static IP (see Camera Configuration above). A firmware update often resets these settings. - Verify the correct model is selected — use
Multicamfor Alexa 35 Live,CAPfor all other models. - Verify the correct IP is entered — for LPS-1 setups use the CCU IP, not the camera head IP.
- Ping the camera from a computer — set the computer to the same IP range and ping the camera IP to confirm basic network connectivity.
- Check the RCP IP — the RCP must have an IP address in the same subnet as the camera. Follow this guide.
- Power cycle — restart the camera and retry.
No control of cforce or servo lens
If cforce motors or a servo lens are connected directly to the camera, do not enable external lens control on the RCP — enabling it overrides camera-driven lens control by a direct connection to a RIO.
Iris not controllable or value mismatch (LBUS)
- If a WCU is present, ensure it is not taking iris priority.
- Load the lens table (via WCU or camera SD card).
- Calibrate the motors.
- Connect the RCP once these steps are complete.
At this stage the motor may blink red/green (not yet controlled). Move iris from the RCP once so the camera takes control.
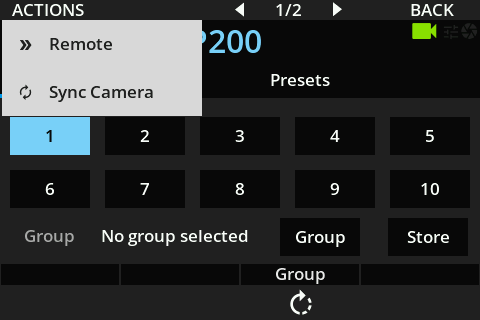
If another remote or the camera takes over iris control, resend the iris control request by using the following RCP menu: SCENES > S.FILES > ACTIONS > Sync Camera