JVC Camcorders
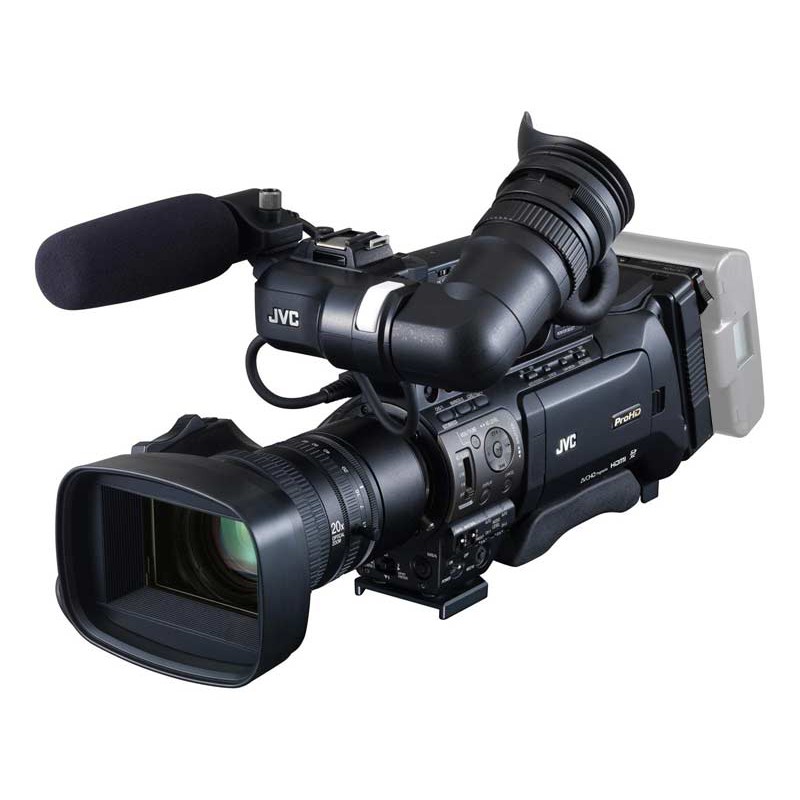
JVC camcorders are controlled over IP using JVC's WebAPI (HTTP/REST) protocol. They connect to the Cyanview RCP or RIO via ethernet or WiFi. Typical use cases include ENG, studio, and REMI productions.
Supported Models
All JVC camcorders that support the WebAPI (HTTP/REST) protocol are supported. A single RCP can control multiple cameras over ethernet or WiFi.
Known Limitations
- WebAPI has noticeable latency for certain shading operations — parameter values approach their target in multiple steps rather than in a single jump. This is a WebAPI characteristic acknowledged by JVC; RS-422 serial is faster but requires a protocol document from JVC.
- LANC provides limited control — no color controls and no status readback. WebAPI is the recommended control path for any model that supports it.
For advanced shading, JVC camcorders can be combined with a VP4.
Supported Controls
| Control | Notes | JVC Camcorder |
|---|---|---|
| Iris | ✔ | |
| Auto Iris | ✔ | |
| Shutter | ✔ | |
| Master Gain | ✔ | |
| Auto Exposure | ✔ | |
| White Balance — Red Gain | ✔ | |
| White Balance — Blue Gain | ✔ | |
| White Balance — AWB | One-shot | ✔ |
| Master Black | ✔ | |
| Detail | ✔ | |
| Tally | Red | ✔ |
| Menu / OSD | ✔ | |
| Record | — |
Connection
JVC camcorders are controlled over IP via ethernet or WiFi (check your camera manual for compatible WiFi dongles). A single RCP can control multiple cameras on the same network. For remote or REMI workflows, a RIO can be placed on the camera side combined with a remote RCP.
Configuration
Camera Configuration
Network / IP Settings
Configure a static IP on the camera:
- Follow the JVC static IP configuration guide for your model.
Lens
- If you have a motorised lens, ensure it is set to AUTO if you want to control it from the RCP.
RCP Configuration
Add the camera as an IP camera. Camera-specific settings:
- Brand: JVC
- Model: Camcorder
- IP Address: must match the static IP configured on the camera
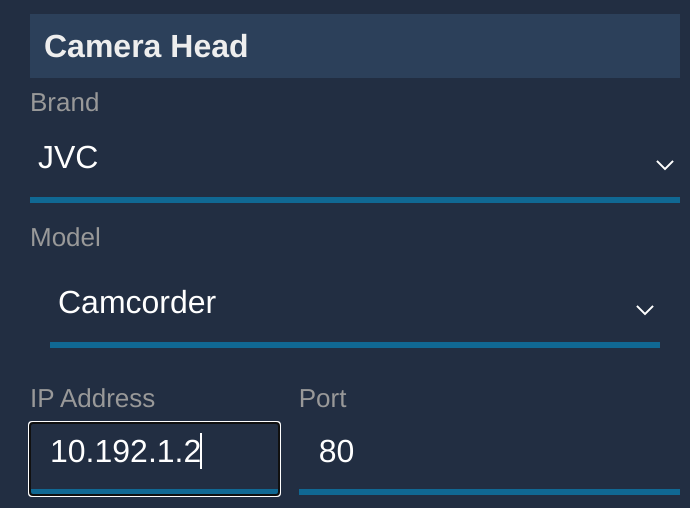
If your camera is not in the default Cyanview IP range (10.192.0.0/16), you can either change the camera IP, or add a new IP range inside the RCP.
Troubleshooting
Camera icon stays RED / camera not detected
Check in this order:
- Verify the camera IP — confirm the IP address entered in the RCP matches the static IP configured on the camera.
- Ping the camera from a computer — set the computer to the same IP range and ping the camera IP to confirm basic network connectivity.
- Ping the RCP from the same computer — confirms the RCP and camera are on the same subnet.
- Check the RCP IP — the RCP must have an IP address in the same range as the camera. Follow this guide if needed.
- Check the WiFi dongle — if using WiFi, confirm the dongle is compatible per the camera manual.
- Power cycle — restart the camera and retry.
A specific parameter is not controllable
- Confirm the camera model supports WebAPI — LANC-only models do not provide color controls or status readback (see Known Limitations).
- Check that the camera and RCP are both on the latest firmware version.
Camera firmware update broke control
- Re-verify the camera's static IP configuration after a firmware update, as updates may reset network settings.
- As a general rule: do not update camera firmware during a live production. Test first in a controlled environment.