Canon XF605
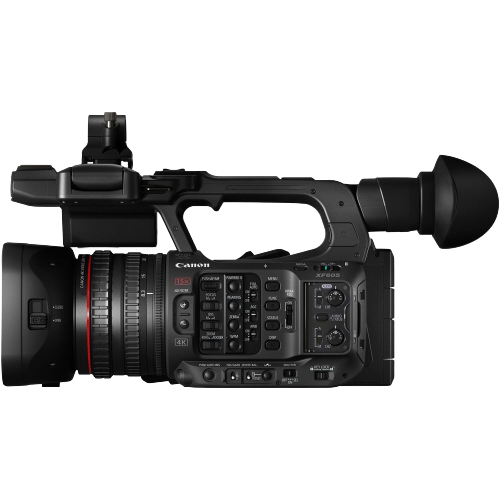
The Canon XF605 is a professional 4K camcorder controlled over Ethernet via the Canon XC protocol. It connects to the Cyanview RCP over a standard Ethernet connection. Typical use cases include multicam live production, news gathering, and studio shading where a self-contained camcorder form factor is required.
While the XF605 is also listed in the generic Canon XC guide, use this dedicated page — all control and lens ranges are correctly adapted for the XF605.
Supported Models
- Canon XF605 — uses the XC protocol with XF605-specific lens and control ranges
Supported Controls
| Control | Notes | XF605 |
|---|---|---|
| Iris | Manual and Auto | ✔ |
| ISO / Gain | ✔ | |
| Shutter | ✔ | |
| Variable ND | ✔ | |
| White Balance | R/B and color temperature | ✔ |
| Black / Pedestal | R/B, master black, black gamma | ✔ |
| Gamma | ✔ | |
| Detail | ✔ | |
| Knee | ✔ | |
| Saturation | ✔ | |
| Denoise | ✔ | |
| Tally | ✔ | |
| Menu / OSD | ✔ | |
| Lens | Zoom, Focus | ✔ |
| Record | — |
Connection
The Canon XF605 connects over IP/Ethernet:
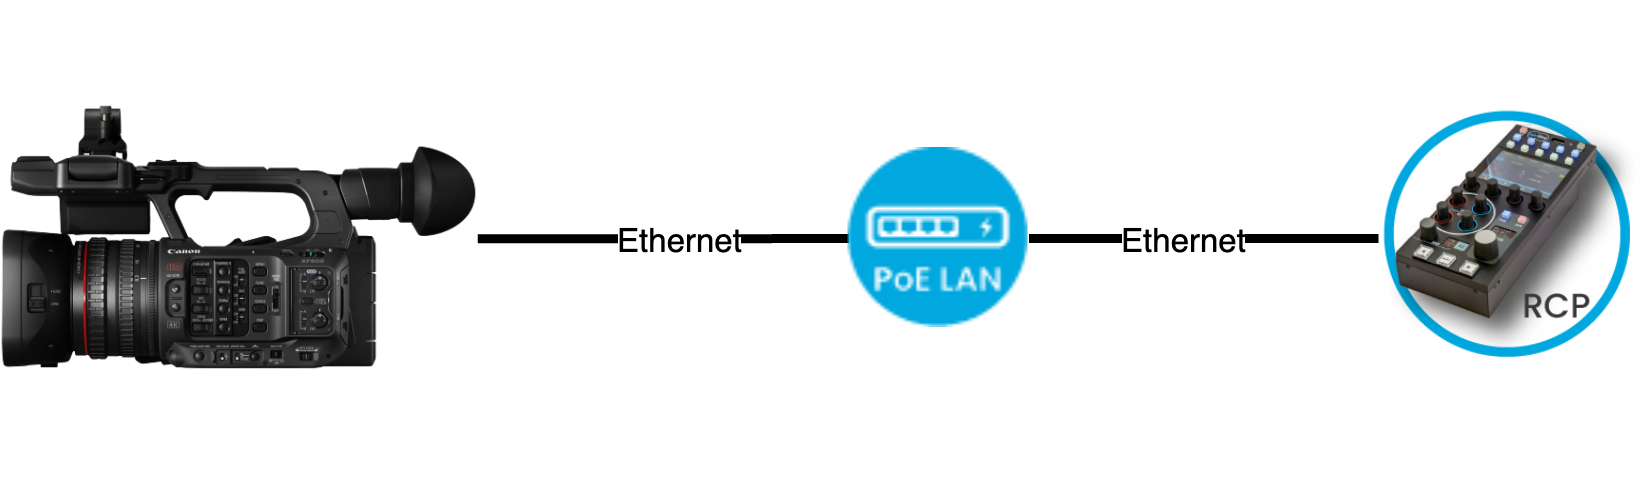
Connect the camera's Ethernet port to the same network as the RCP using a standard Ethernet cable.
If the camera IP is not in the range 10.192.0.0/16, follow this guide to configure the RCP to reach the camera.
Configuration
Camera Configuration
You need to configure a static Ethernet IP and enable the XC protocol on the camera.
|
RCP Configuration
Add the camera as an IP camera. Use brand Canon and model XF605, then enter the camera IP address.
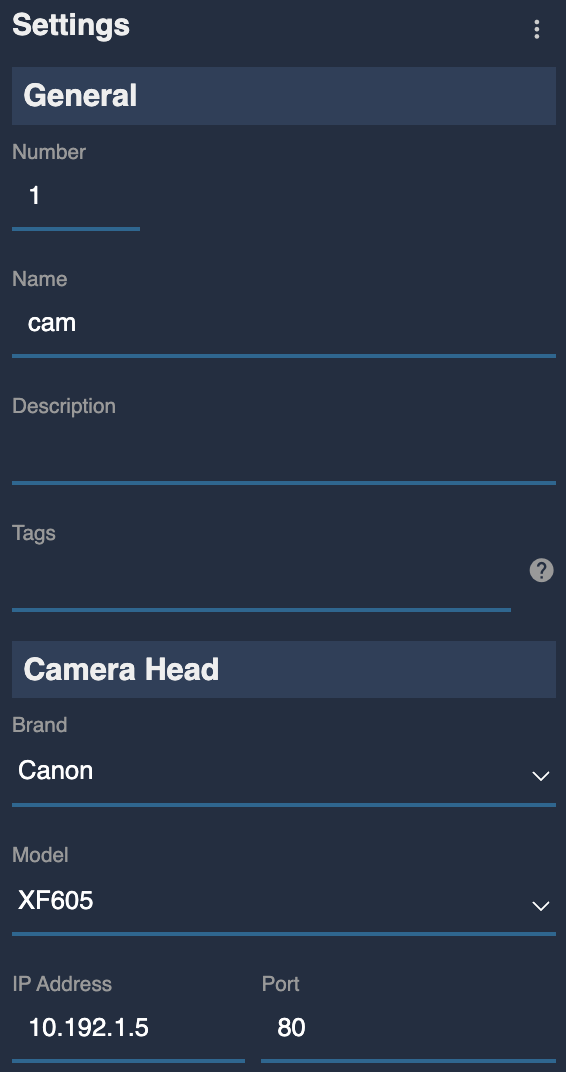
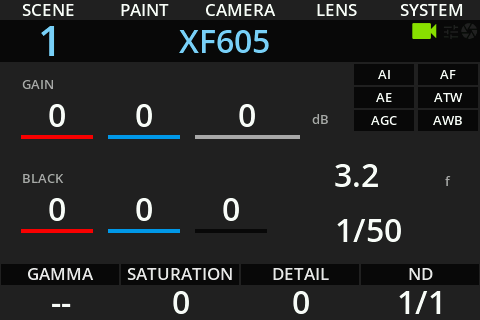
And on your RCP:
Tally Integration with ATEM (Optional)
|
Troubleshooting
Camera icon stays RED / camera not detected
Check in this order:
- Verify camera network settings — confirm the static IP is correctly set, the XC protocol is enabled, and
Networkis set toEnable(see Camera Configuration above). A camera firmware update often resets these settings. - Ping the camera from a computer — set the computer to the same IP range and ping the camera IP to confirm basic network connectivity.
- Ping the RCP from the same computer — confirms the RCP and camera are on the same subnet.
- Check the RCP IP — the RCP must have an IP address in the same range as the camera.
- Power cycle — restart the camera and retry.
- Check the cable — try a different Ethernet cable or switch port.
No paint / shading control or other XC protocol issues
See the Canon XC troubleshooting guide for protocol-level issues, including Custom Picture profile protection and ATW mode.