Canon CR-N/X PTZ Cameras
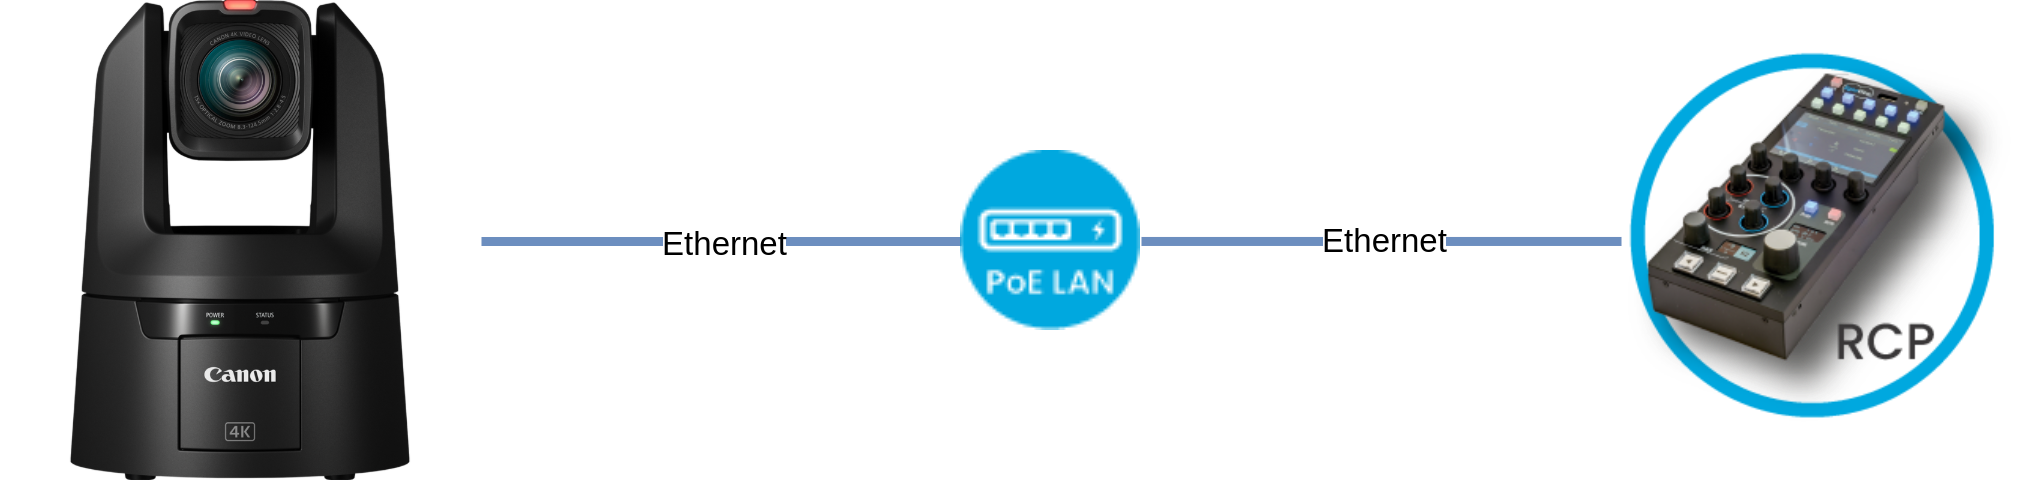
Canon CR-N and CR-X series cameras are IP-based PTZ cameras controlled via the Canon XC protocol. They connect to the Cyanview RCP over Ethernet. Typical use cases include multicam live production, PTZ shading, and remote studio applications.
Supported Models
- CR-N100 — supported using the CR-N300 protocol
- CR-N300
- CR-N500
- CR-N700
- CR-X300
The CR-X500 is not an IP camera and cannot be controlled using the XC protocol. It is partially supported using RS-422, but demand is very low and no dedicated cable is provided for this camera.
Supported Controls
| Control | Notes | CR-N300 | CR-X300 | CR-N500 | CR-N700 |
|---|---|---|---|---|---|
| Iris | Manual and Auto | ✔ | ✔ | ✔ | ✔ |
| ISO / Gain | ✔ | ✔ | ✔ | ✔ | |
| Shutter | ✔ | ✔ | ✔ | ✔ | |
| Variable ND | ✔ | ✔ | ✔ | ✔ | |
| White Balance | R/B and color temperature | ✔ | ✔ | ✔ | ✔ |
| Black / Pedestal | R/B, master black, black gamma | ✔ | ✔ | ✔ | ✔ |
| Gamma | ✔ | ✔ | ✔ | ✔ | |
| Detail | ✔ | ✔ | ✔ | ✔ | |
| Knee | ✔ | ✔ | ✔ | ✔ | |
| Saturation | ✔ | ✔ | ✔ | ✔ | |
| Color Space / OETF | ✔ | ✔ | ✔ | ✔ | |
| Denoise | ✔ | ✔ | ✔ | ✔ | |
| Tally | Red and green | ✔ | ✔ | ✔ | ✔ |
| Menu / OSD | ✔ | ✔ | ✔ | ✔ | |
| Pan / Tilt | Via RCP touchscreen or USB joystick | ✔ | ✔ | ✔ | ✔ |
| Lens | Zoom, Focus | ✔ | ✔ | ✔ | ✔ |
| Outdoor (wiper, washer) | Accessible via CUSTOM 1 menu (CAMERA > CUSTOM > CUSTOM 1)1 | — | ✔ | — | — |
The RCP can be used to control nearly every setting of these cameras as the XC protocol covers all parameters visible on the camera webpage.
Connection
The Canon CR-N/X PTZ cameras connect over IP/Ethernet. Connect the camera's Ethernet port to the same network as the RCP using a standard Ethernet cable.
If the camera IP is not in the range 10.192.0.0/16, follow this guide to configure the RCP to reach the camera.
Configuration
Camera Configuration
The camera is on DHCP by default. You can use the DHCP address or configure a static IP (recommended).
Network / IP Settings
- Connect to the camera's DHCP address (find it by scanning the network or checking your router).
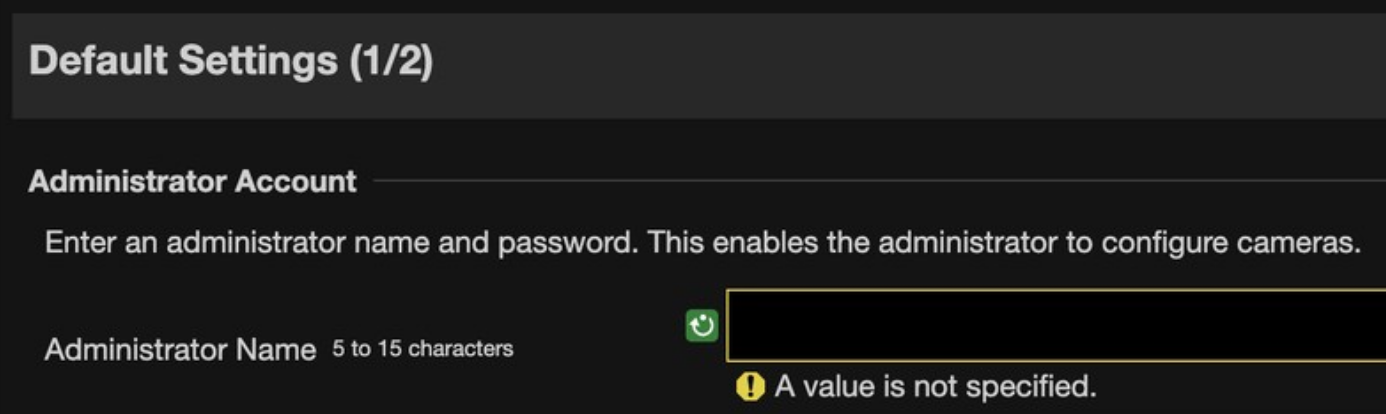
- If this is the first setup, you will be prompted to create a user/login:
- Navigate to the Network settings and change:
IPv4 Address Settings MethodtoManualIPv4 addressto the desired camera IP (e.g.10.192.100.100)Subnet Maskto the desired mask (e.g.255.255.0.0)
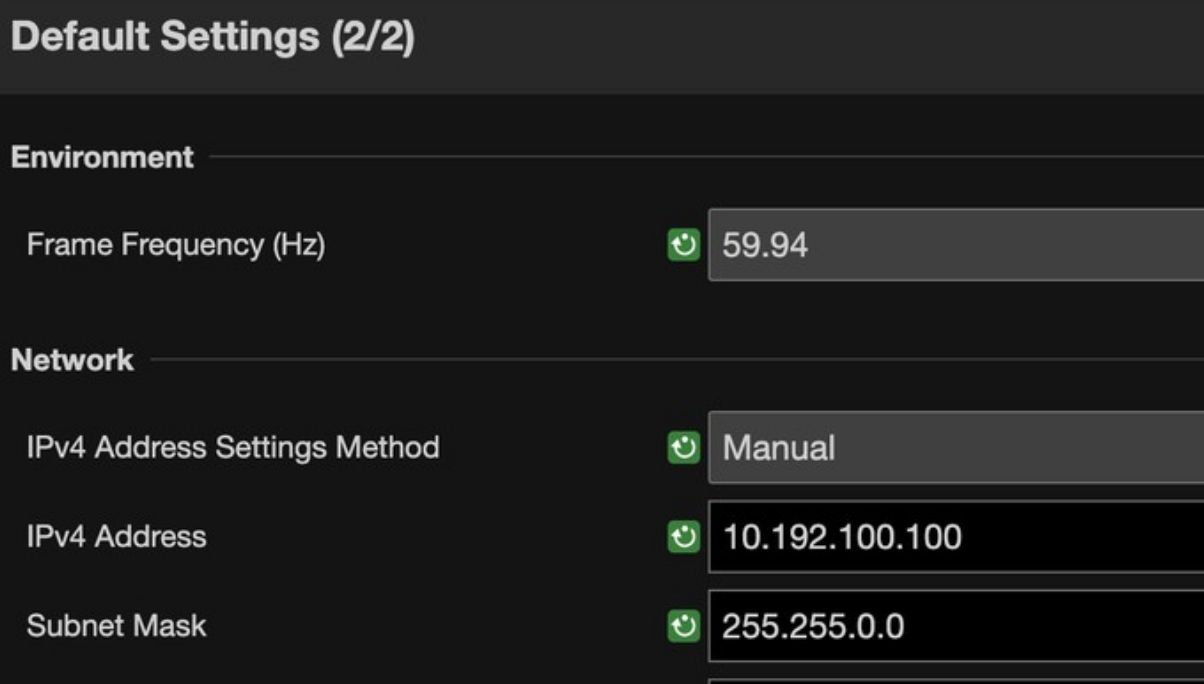
- After saving, the camera will reboot and will be controllable.
Shooting Mode
Ensure Shooting Mode is set to M and that all Auto modes are disabled:

If any parameter in the camera web interface is set to Auto (AWB, Auto Iris, etc.), the RCP will be unable to control it. Set all parameters you want to control to Manual mode.
RCP Configuration
Add the camera as an IP camera.
CR-N300 and CR-N500 both use the XC protocol but have different lenses — select the correct model to get the right control ranges.
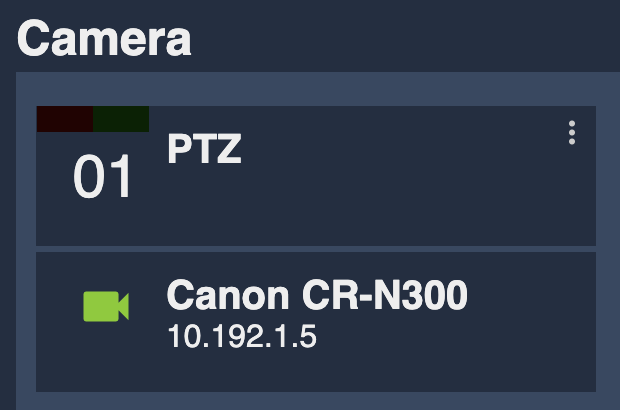
Canon CR-N300
Select brand Canon and model CR-N300.
If everything is set up correctly, you should see:
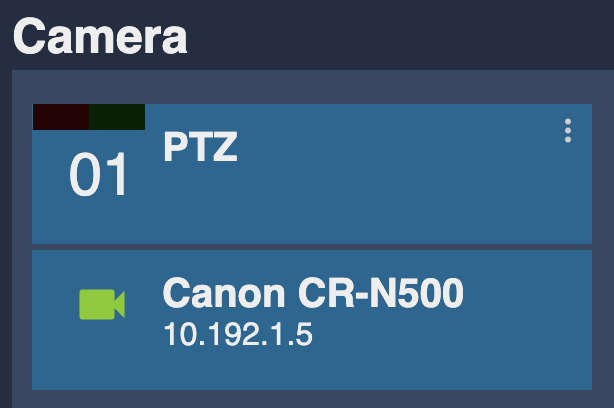
Canon CR-N500
Select brand Canon and model CR-N500.
If everything is set up correctly, you should see:
Troubleshooting
Camera icon stays RED / camera not detected
Check in this order:
- Verify camera is in Manual mode — ensure
Shooting Modeis set toMand no Auto modes are active. - Confirm the camera IP is static — and that it is in the same range as the RCP (see Network / IP Settings above). A camera reboot after setup or a firmware update may reset the IP to DHCP.
- Ping the camera from a computer — set the computer to the same IP range and ping the camera IP to confirm basic network connectivity.
- Check from your computer — verify you can reach both the PTZ web UI and the RCP web UI.
- Check wiring and cables — try a different Ethernet cable or port.
- Power cycle — restart the camera and retry.
A specific parameter is not controllable
- Confirm the parameter is not set to
Autoon the camera — any Auto setting will override RCP control. - Check that the correct model is selected in the RCP (CR-N300 vs CR-N500 have different control ranges).