Dreamchip ATOM one SSM500
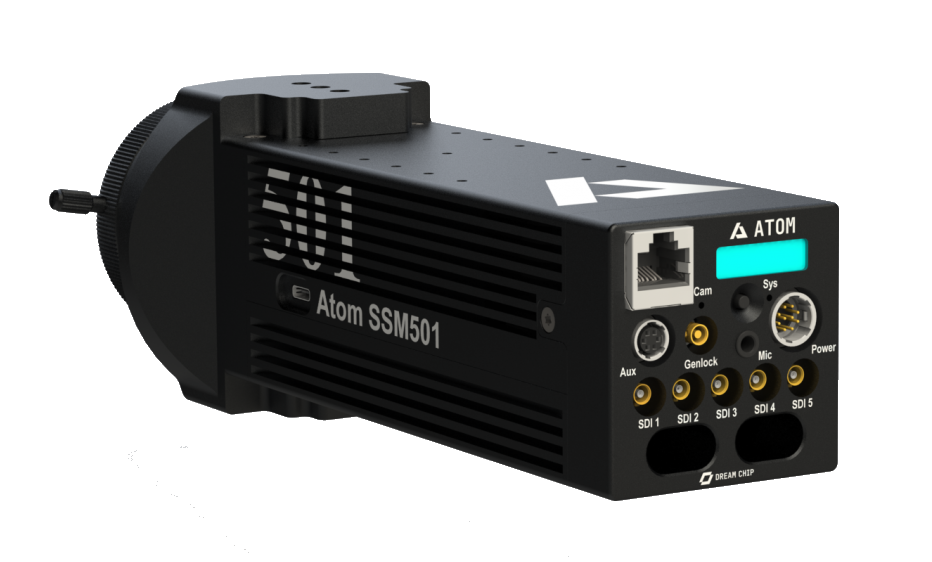
The Dreamchip ATOM one SSM500 is a high-speed camera controlled over IP. It connects to the Cyanview RCP or RIO via ethernet and supports full paint control, lens motor control, and slow-motion replay workflows. Typical use cases include sports broadcast, high-speed replay production, and PoV camera setups.
Supported Models
All AtomOne cameras from Dreamchip are supported. They use the same protocol and have essentially the same features.
- AtomOne SSM500
- AtomOne SSM501 — new in 2025; most features available but integration may not be fully complete (Recording, Playback, and Lens control via camera are known TODOs)
- AtomOne SSM502 — new in 2025; same status as SSM501
It is highly recommended that the camera and Cyanview equipment are updated to the latest software version.
Important changes were implemented on both Dreamchip and Cyanview's sides in 2023 and 2024. Known incompatibility issues exist when cameras are used on mismatched firmware versions.
Supported Controls
All paint controls available in Dreamchip cameras are accessible from the RCP. Using the official ProVideoGUI software from Dreamchip is a good way to discover the capabilities of these cameras and to ensure they have the latest firmware. You will need the connection cable from Dreamchip to control the camera from a computer (Windows only).
| Control | Notes | SSM500 | SSM501 / SSM502 |
|---|---|---|---|
| Gain | ✔ | ✔ | |
| Shutter | ✔ | ✔ | |
| CLS (Clearscan) | ✔ | ✔ | |
| Iris | Available on the mini zoom or when using Dreamchip motors | ✔ | — |
| White Balance — R/G/B Gain | ✔ | ✔ | |
| White Balance — AWB | Single-shot auto-white | ✔ | ✔ |
| White Balance — ATW | Continuous auto white | ✔ | ✔ |
| White Balance — Color Temperature | Changing color temperature sets R/G/B gains similarly to a Sony system camera | ✔ | ✔ |
| Primary Corrections | R/G/B/Master Black level, R/G/B/Master Gamma (BT.709), R/B and Master Black Gamma, Saturation, Detail, Denoise | ✔ | ✔ |
| R/G/B/Master Flare | ✔ | ✔ | |
| Knee | Slope and point | ✔ | ✔ |
| User Matrix | ✔ | ✔ | |
| Multi-matrix | Selection of 12, 16, 24, or 32 vectors | ✔ | ✔ |
| Color Space | BT.709 or BT.2020 | ✔ | ✔ |
| OETF | BT.709, HLG, PQ, Slog3. Some HDR settings disable parts of the video pipeline but the camera does not prevent changes — gamma can still be adjusted even when it has no effect | ✔ | ✔ |
| Lens — Iris, Focus, Zoom | C-mount with Dreamchip motors: controlled through camera AUX port, detected automatically. Motors must be calibrated in ProVideo software. Zoom only on AtomOne Zoom | ✔ | — |
| Flip | Upside-down or mirror | ✔ | ✔ |
| Video Format / Genlock | Must be saved as power-up defaults after change; camera performs internal reboot, adjustments may appear sluggish | ✔ | ✔ |
| Record | ✔ | — | |
| Tally | — | — |
Connection
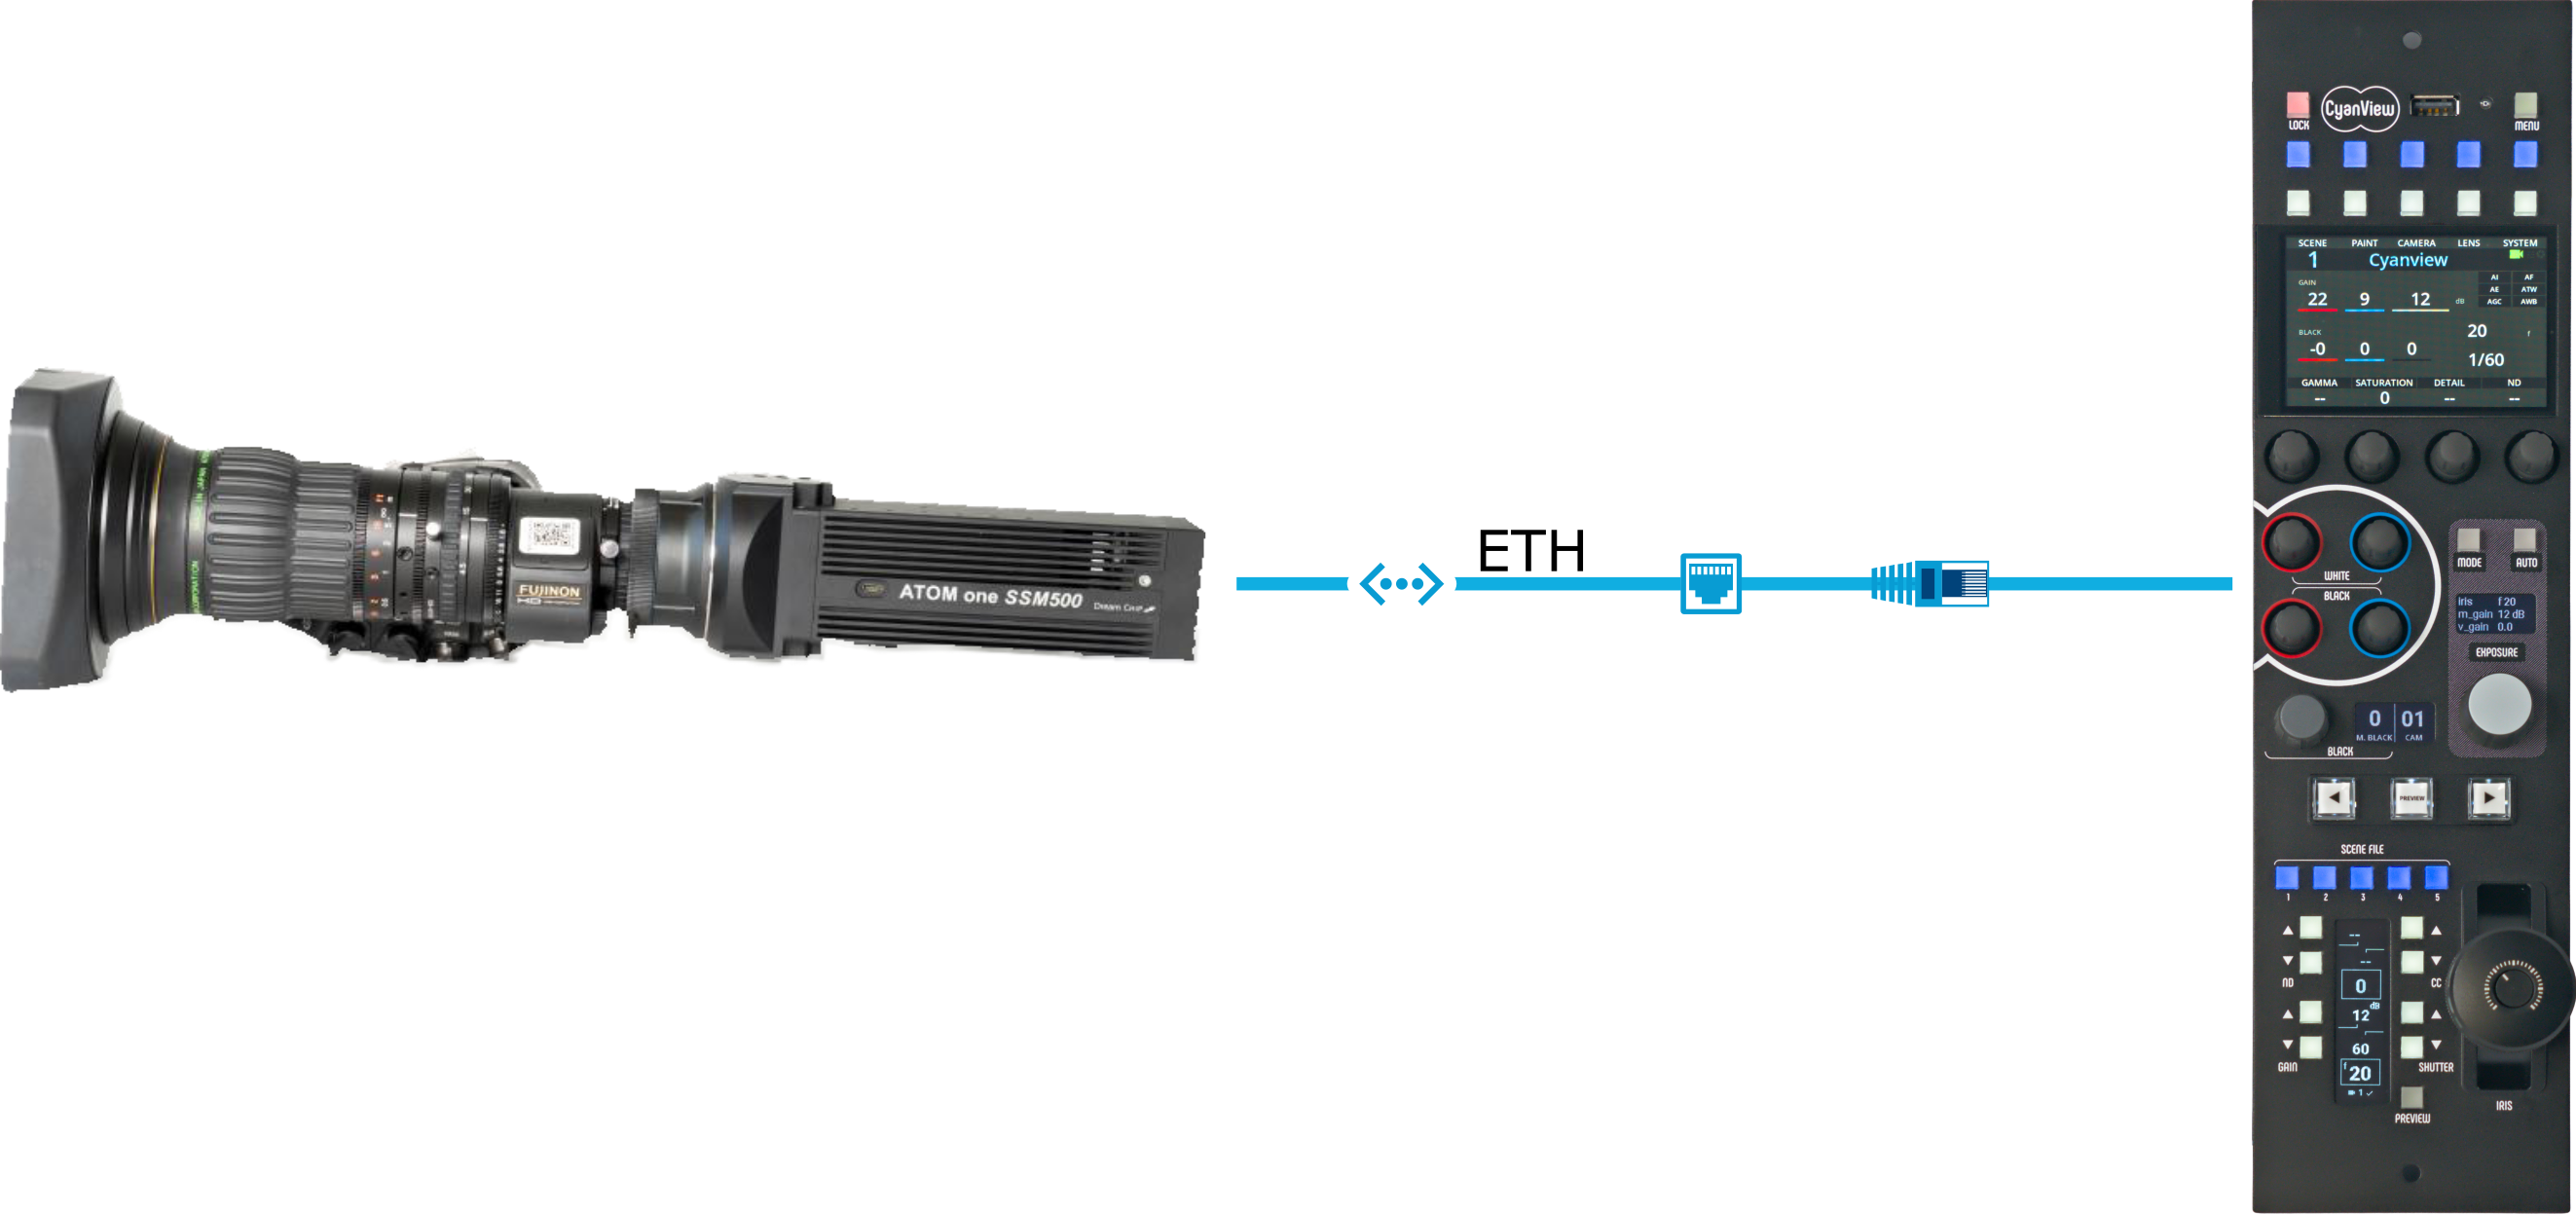
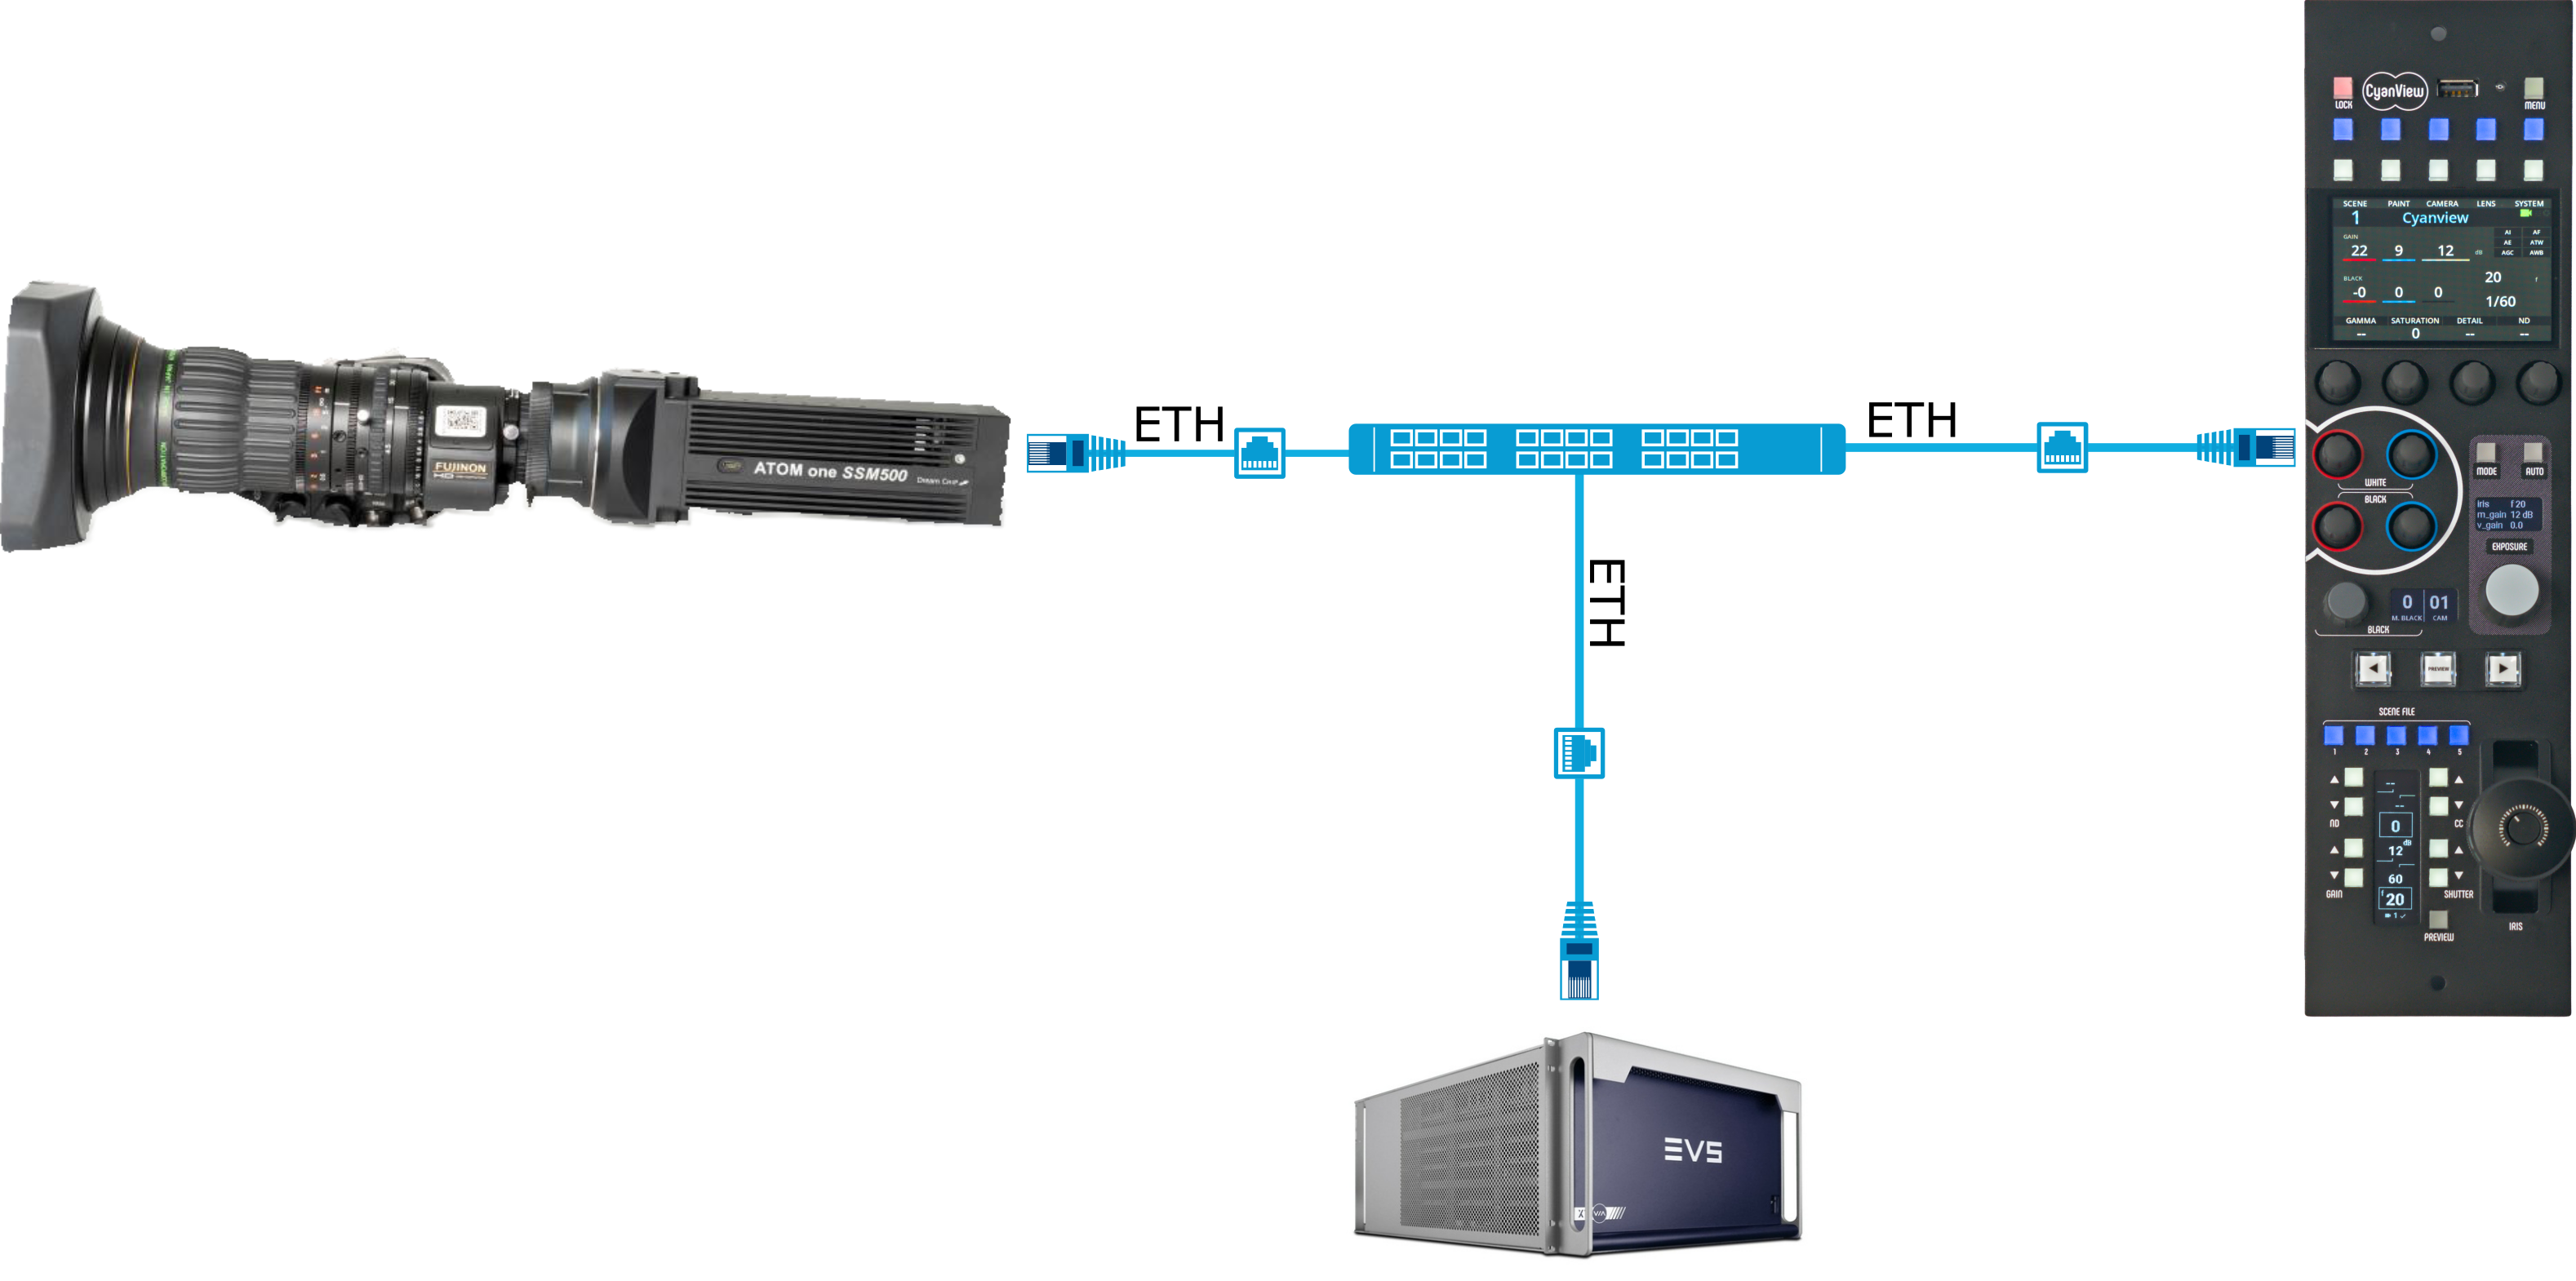
The SSM500 is controlled exclusively over IP. A standard ethernet connection between the camera and the RCP (or RIO) is all that is required.
Configuration
Camera Configuration
No specific on-camera menu configuration is required beyond network settings. Refer to the Dreamchip documentation or ProVideoGUI for firmware update and initial network setup.
RCP Configuration
Add the camera as an IP camera. Use brand Dreamchip and model SSM500.
Power-up Defaults
The camera does not save the current settings automatically. Dreamchip offers an "auto_save" feature but it significantly reduces camera responsiveness, so it is not recommended. The camera powers up with pre-defined settings, including video format, frame rate, genlock, and all paint settings. When the RCP detects the camera, all paint settings are restored from the RCP's stored values — so if you power cycle the camera, all last values are restored automatically.
If you use ProVideo GUI to adjust camera settings and save them as power-up defaults, the RCP will overwrite most of these settings when it connects to the camera. The only settings not restored by the RCP are video format, genlock settings, and special features unavailable from the RCP (such as lens calibration).
The RCP provides two special commands:
-
SAVE— Saves all current settings as power-up defaults. Use this when:- You change the video format or genlock settings (these are not restored by the RCP; if you don't save, the camera restarts with the previous settings).
- The camera is used over a weak or wireless link (if the link is lost and the camera restarts, it retains the saved settings until the RCP reconnects).
- You plan to use the camera as a PoV without a control link and need adjustments to persist.
-
FACT-D(Factory Default) — Resets the camera to factory default settings. Useful when the camera is not behaving as expected due to settings adjusted via ProVideo GUI.
External Lens
When using a C-mount lens with Dreamchip motors, the lens is controlled through the camera itself (AUX port) and detected automatically. The motors must be calibrated and configured through the Dreamchip ProVideo software.
Only configure the lens menu when using external lens control.
If the lens is being controlled through the camera and an external lens has also been configured on the CI0/RIO, it will cause compatibility issues.
To configure external lens control, open the camera configuration menu, scroll down to Lens, enter the Model number, and enter the RIO Interface port.

Standalone Mode Setup
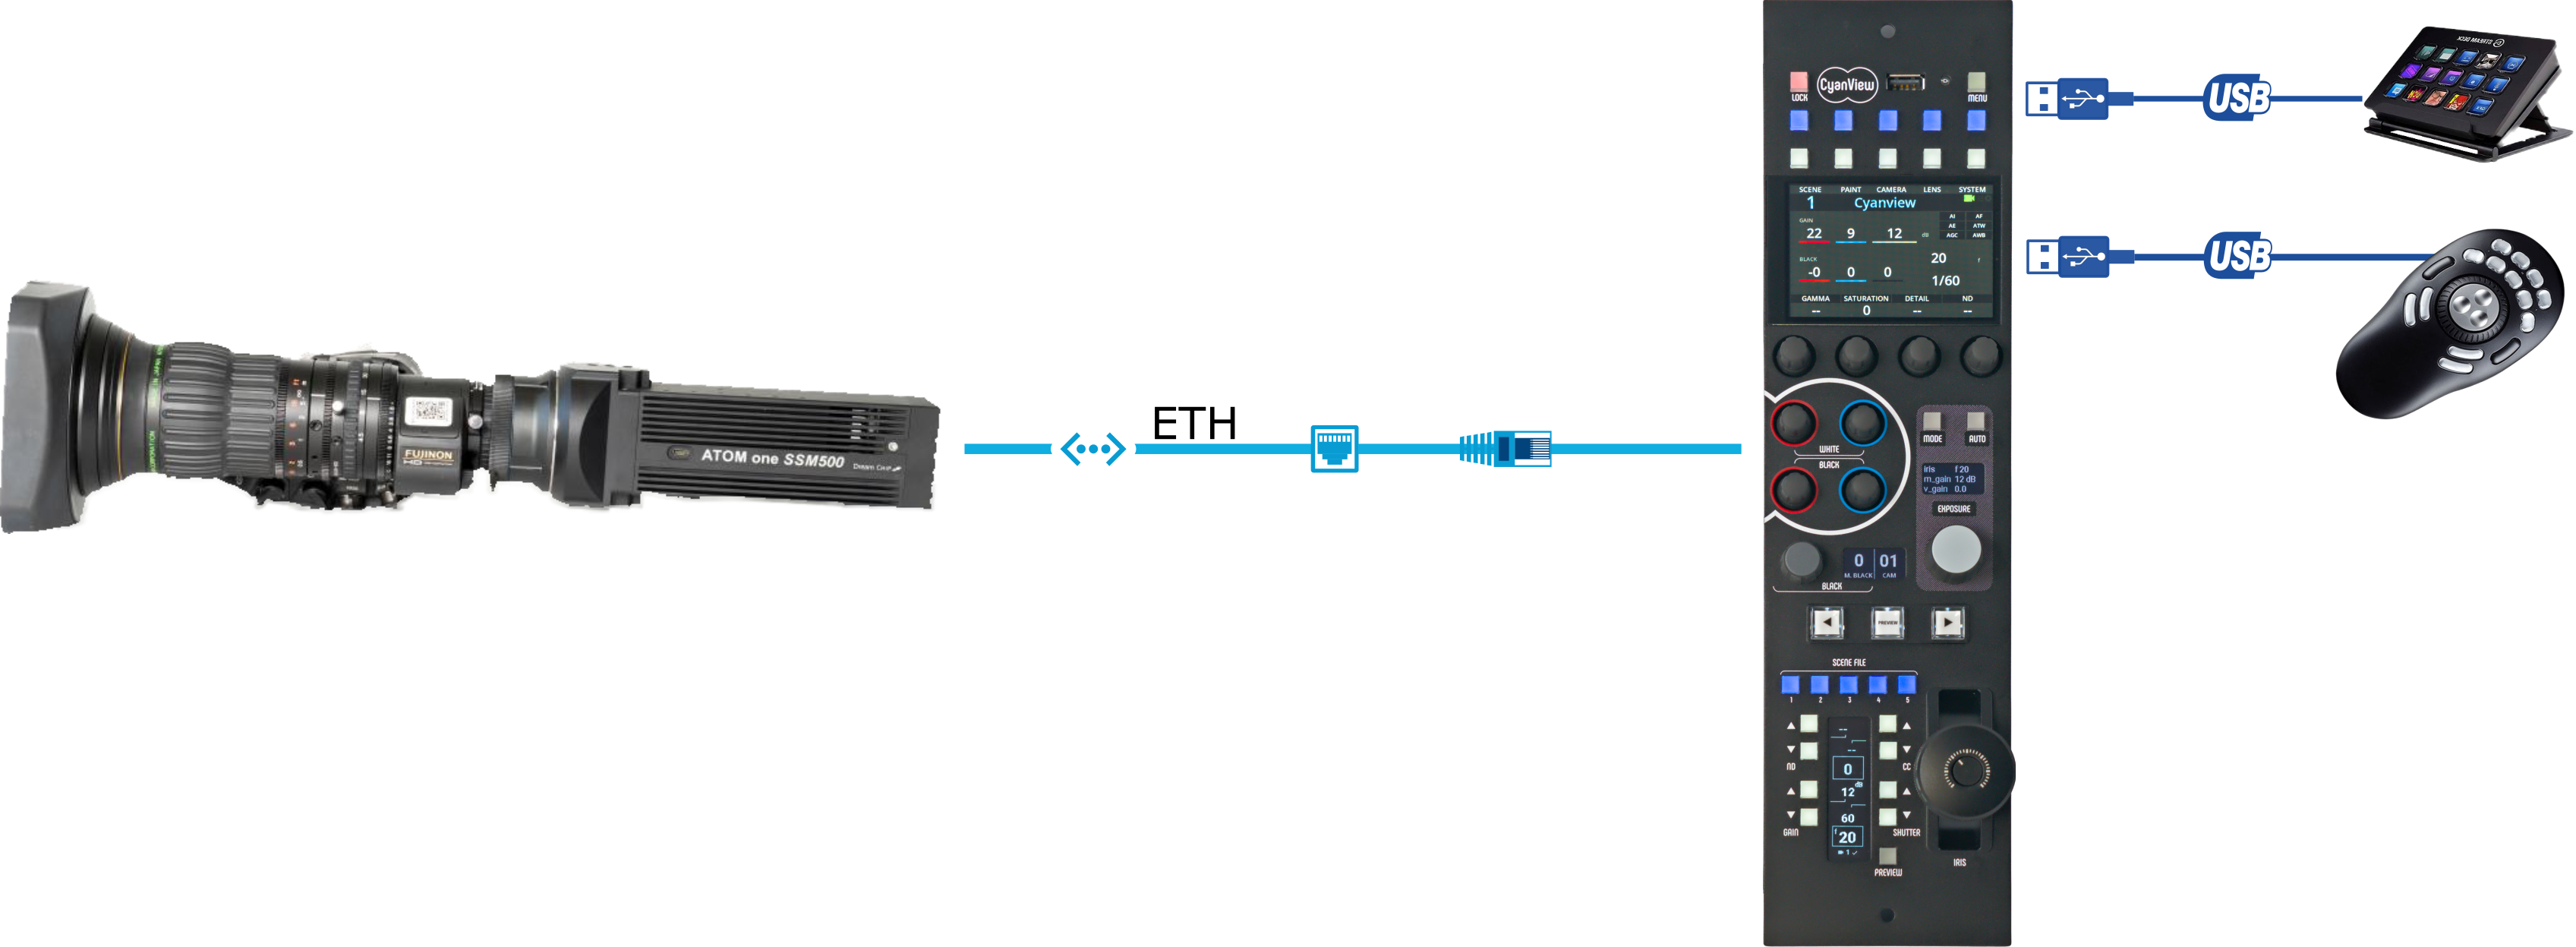
In standalone mode, replay and trigger are performed via a Stream Deck or Shuttle Pro connected to the RCP. Replays are stored in the camera's internal storage.
-
Add your SSM500 camera to the RCP as described in the IP Camera Configuration guide.
-
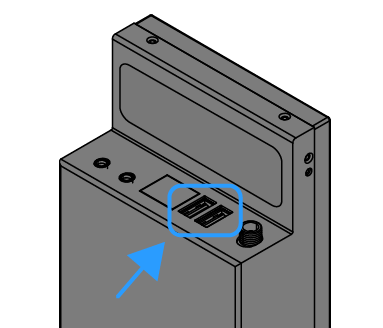
Connect the Stream Deck and Shuttle Pro to the USB connector on the RCP.
-
Associate the Stream Deck and Shuttle Pro to the RCP controller.
EVS Mode Setup
Please refer to the EVS Hypermotion page for EVS configuration. In this mode, the RCP acts as a gateway for the EVS.
Workflow
Troubleshooting
Camera icon stays RED / camera not detected
Check in this order:
- Check your wiring — confirm the ethernet cable is seated and the network switch or direct link is active.
- Check camera firmware — verify the camera is up to date via the Dreamchip wiki.
- Check reachability using ProVideo GUI — confirm the camera is controllable from a computer using Dreamchip's ProVideo GUI software.
- Check the RCP IP — the RCP must have an IP address in the same subnet as the camera. Follow this guide if needed.
- Power cycle — restart the camera and retry.
Some camera controls are not displayed
- Check if the camera is up to date on the Dreamchip wiki.
- Reset the camera to factory default:
- On your RCP, click on
Camera > Custom. - On the touch screen, tap FACTD — this resets the camera to factory default.
- On the touch screen, tap STORE — this saves the factory default as power-up settings.
- Unplug and replug the camera.
- On your RCP, click on
Camera firmware update broke control
- Firmware updates may reset network settings; re-apply the camera's IP and network configuration after any update.
- As a general rule: do not update camera firmware during a live production. Test first in a controlled environment.