CyanView Studio
What is CyanView Studio
CyanView Studio is a desktop app for macOS and Windows. It connects to your RCP or RIO. It has two workspaces that share the same cameras.
- Dashboard displays and controls all cameras. See the Dashboard manual.
- LiveLab builds looks and sends them to LUT boxes. See the LiveLab manual. Its OpenFX chain is in the FXVP manual.
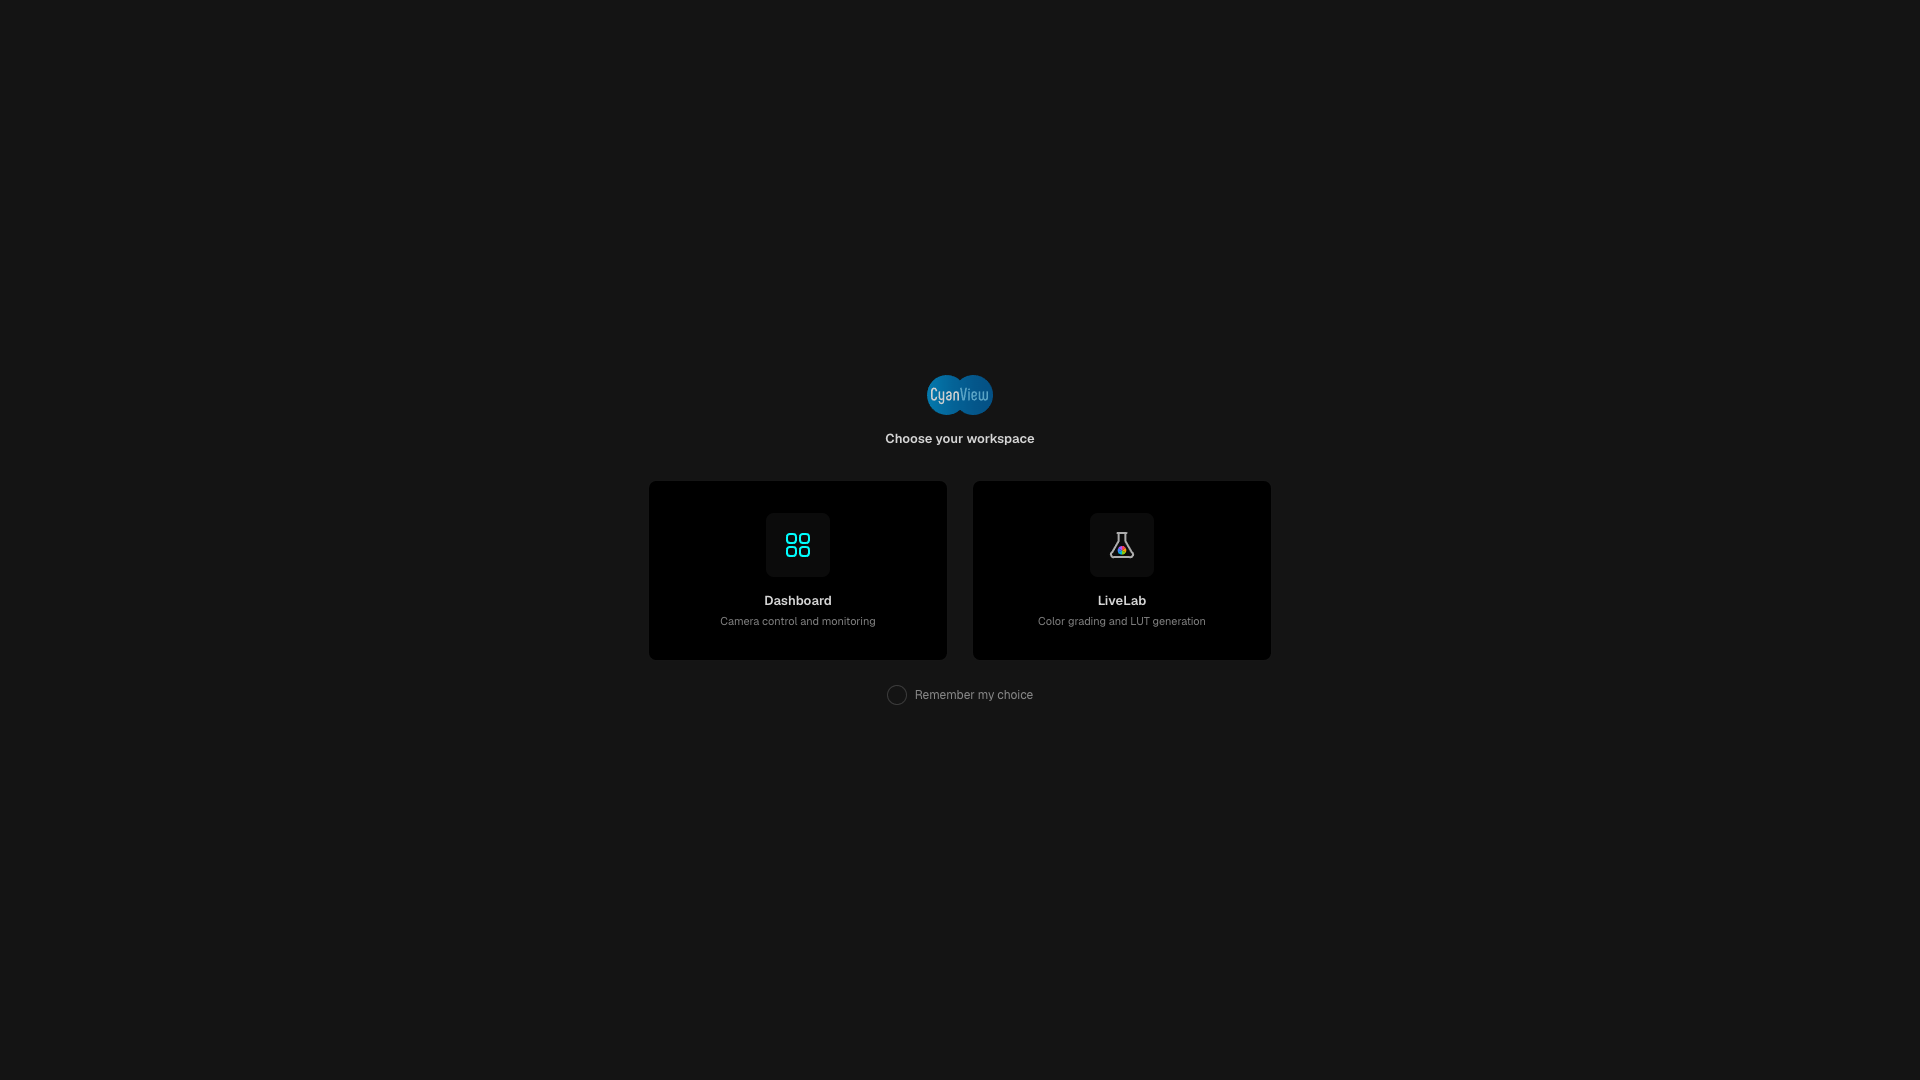
- Dashboard - camera control and monitoring.
- LiveLab - color grading and LUT generation.
- Remember my choice - do not show this screen again.
Dashboard
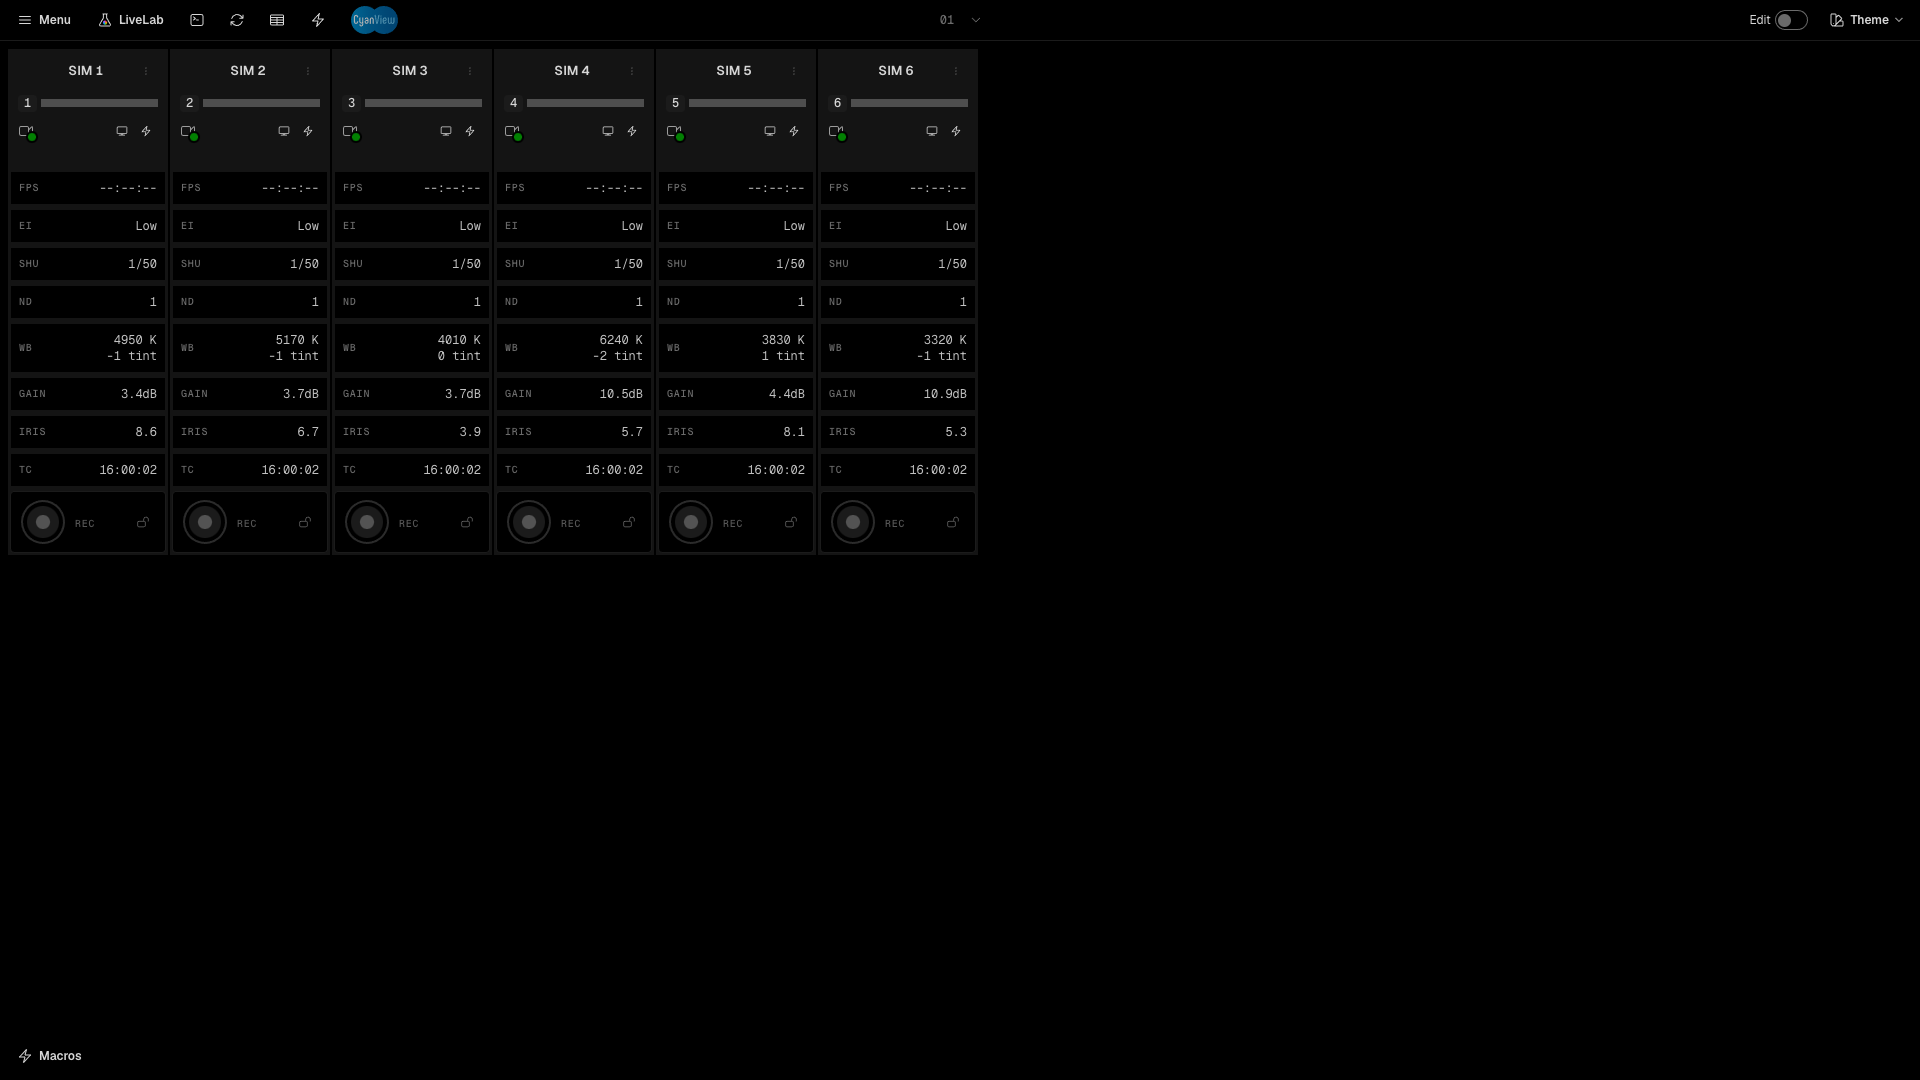
The Dashboard shows all your cameras on one page. Each camera is a tile.
| Feature | What it does |
|---|---|
| Cameras | Connect one or more RCP or RIO units by address, or select them on the discovery page. Each tile shows the name, number, tally, record state and live values. The table view shows one row for each camera. |
| Quick panel | The daily controls: record, iris, ND, gain, shutter and white balance. |
| Full page | All the controls of the camera: filters, lens, exposure, gain, color, matrix, gamma, knee, detail, outputs, format, audio, stream, menu and more. The page can follow the active camera of the RCP. |
| Templates | Dashboard templates set the values on a tile. Control templates set the cards on the quick panel and the full page. Apply a template to one camera or to all cameras. Share templates as files. |
| Groups | Select cameras and give them a name. The group page sends each change to all cameras in the group. |
| Tally | The switcher tally lights the tile. Red is program, green is preview, amber is both, yellow is call. Test buttons turn each color on and off. |
| Snapshots | Save the settings of a camera and restore them later. LiveLab links a snapshot to the grade of each feed. |
| Macros | One click runs a list of actions on cameras or groups: iris, gain, exposure, white balance, ND, LUT, record or a raw command. Macros are buttons in a drawer and on a macro pad. |
| Scenes | A scene is a set of cameras and their layout. Export and import a scene as a file. |
| Other | Four themes, a command palette (Cmd+K), an HTTP API for macros and the active camera, proxy and REMI for remote networks. |
LiveLab
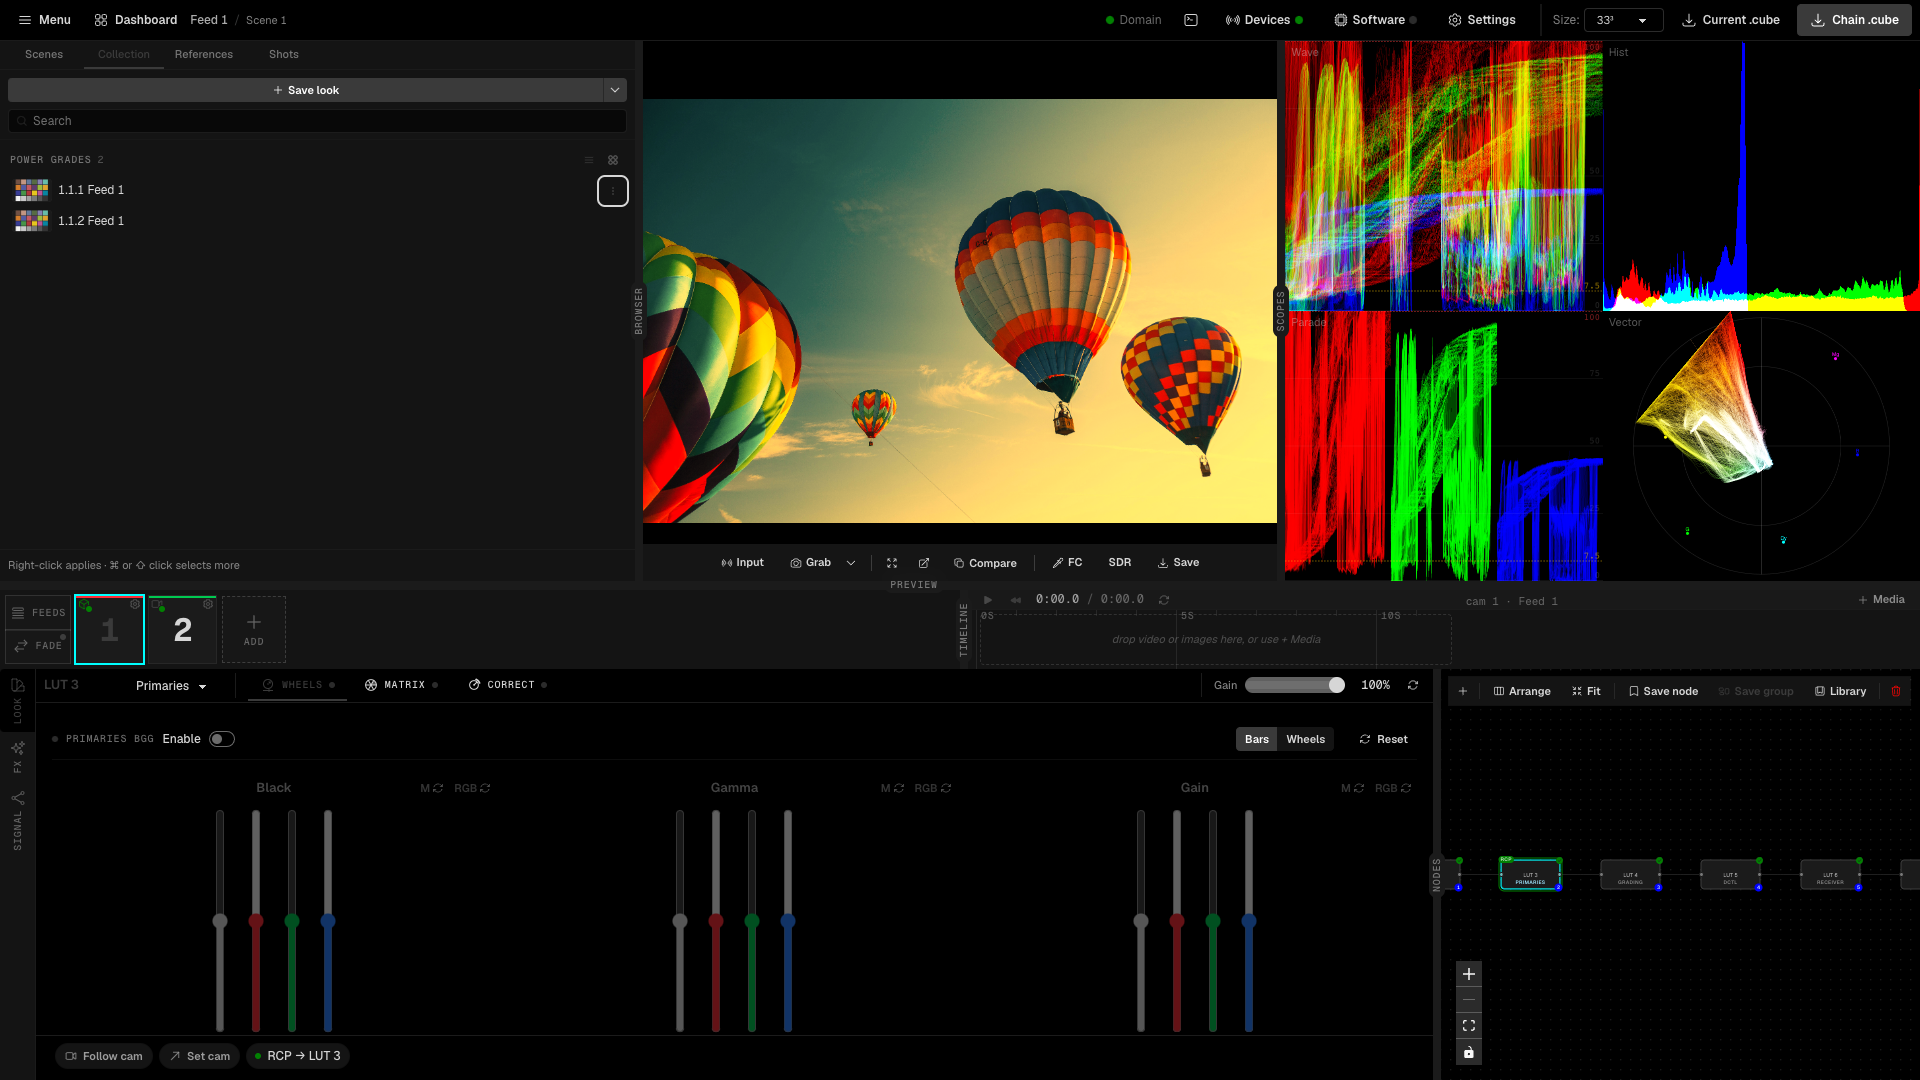
LiveLab is the grading workspace. You make a look for each feed, and Studio sends it to the LUT box.
| Feature | What it does |
|---|---|
| Nodes | A grade is a chain of nodes. The IDT node converts the camera log to a working space (ARRI, Sony, RED, Canon, Panasonic, Fujifilm, DJI, Blackmagic, Nikon, Apple, Leica, HLG, PQ, ACES and more). Then add Primaries, Grading (wheels, multimatrix, color correctors, curves), DCTL, 3D LUT, LUT Gallery and Receiver nodes. The ODT node converts to the output space. Save nodes to a library. Undo works for each grade. |
| RCP link | Link a feed to a camera. The Primaries node then follows the RCP paint controls live. Follow cam moves LiveLab to the active camera of the RCP. |
| LUT boxes | VP4, AJA ColorBox, AJA FS-HDR, BoxIO, CyanCamera and FXVP. Studio bakes each change into a 17, 33 or 65 point LUT and sends it immediately. Extra boxes get the same LUT. A scene change sends all feeds again. |
| Fade | A LUT change can crossfade on the box, in steps, over a set time. Set a node type to straight to get an instant change. |
| Receive from Resolve | The LUT Receiver has eight channels. It gets a LUT from DaVinci Resolve live into a Receiver node. In Resolve, put the CyanView LutGenerator node first and the LutAnalyzer node last. Put your grade nodes between them. The analyzer sends the result to Studio. Snapshots keep a received look. |
| Push to Resolve | Studio sends its chain LUT to Resolve with the WsLut plugin, and streams the preview as NDI. |
| Preview | Grade on built in charts, on your own stills, or on live video from DeckLink, SRT or RTP. SDI out carries the graded picture. The preview can decode the output as SDR, PQ or HLG for an HDR display. Open the preview in a second window. A timeline holds clips. |
| Scopes | Waveform, histogram, parade, vectorscope and false color. Scopes can open in a second window. |
| OpenFX | An OpenFX chain runs on the local GPU or on FXVP servers. The CyanView 3D LUT plugin in that chain applies the grade, with a fade. See the FXVP manual. |
| Shots | Grab keeps the raw and graded frame of a feed, its look as a .cube file and the camera values. Grab all feeds does this for all feeds at the same time. A contact sheet shows all grabs side by side. Export shots as stills, looks and a CSV file. |
| Scenes | Each feed has one grade in each scene. Put scenes in folders. Duplicate a scene with or without its grades. |
| Presets | The Collection holds Power Grades (all values) and Node Templates (the chain only). Compare a feed or a Power Grade side by side. |
| Export | Export the LUT of one node or of the full chain as a .cube file. A pattern sets the file name. |
| Remote control | OSC and an HTTP API select feeds, grades, LUT Gallery entries and receiver snapshots. |
Requirements
- A Mac (Apple silicon) or a Windows PC.
- The computer and the RCP or RIO are on the same network.
- A Studio license for LiveLab. The Dashboard works without a license.
- For DeckLink capture, SDI output and the local OpenFX engine: the Blackmagic Desktop Video driver, on macOS and on Windows. Download it from the Blackmagic Design support page.
Open these ports between the computer and the RCP or RIO:
| Port | Protocol | Use |
|---|---|---|
| 1883 | TCP (MQTT) | Camera control and status |
| 3838 | UDP | Device discovery |
Match display refresh works on macOS only. DeckLink capture, SDI output, SRT and RTP inputs and the local OpenFX engine work on macOS and on Windows.
Install and launch
- Download the installer for your platform from studio.cyanview.com. Use the
.dmgfile for macOS and the.exefile for Windows. - On macOS, open the disk image and drag CyanView Studio to Applications. On Windows, run the installer.
- Start the app. A splash window shows while the backend starts. Then the main window opens.
- The tray icon has Show Window, Check for Updates… and License…. When a new version is available, an Update available box shows at the bottom right. Click Install & restart to download it and restart the app, or click Later.
Activate LiveLab
The first time you open LiveLab, the app shows the Activate LiveLab page.
- Enter the Email of your CyanView account.
- Enter the License key from the CyanView account portal.
- Click Activate.
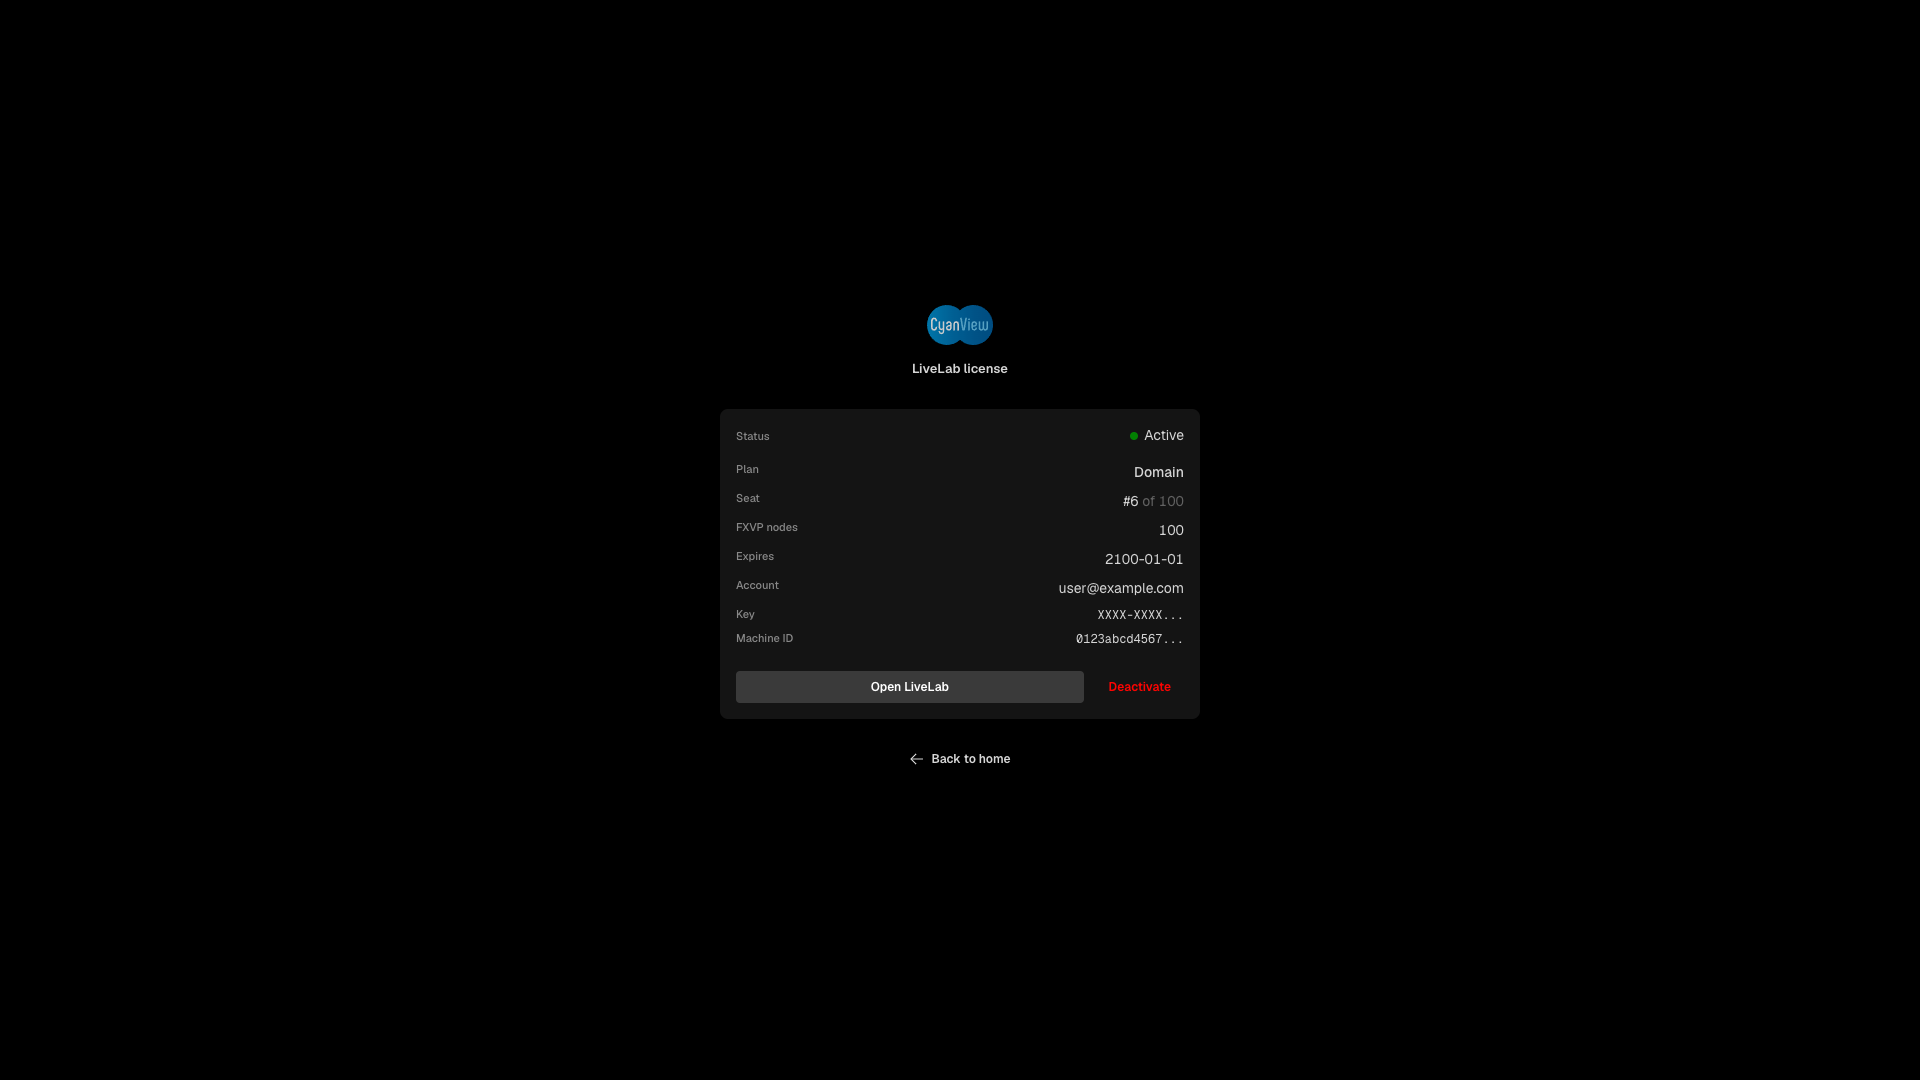
After activation, the same page shows the license status: plan, seat, FXVP nodes, expiry date, account, key and the machine ID of the seat. Click Open LiveLab to go to the workspace.
To open this page later, use one of these:
- The license pill in the LiveLab header (a status dot and your plan name).
- The tray menu.
- On macOS, CyanView Studio > License… (Cmd+L).
Click Deactivate to release the seat. You can then use the key on a different computer.
Choose a workspace
After the app starts, it asks Choose your workspace. Select Dashboard or LiveLab. Select Remember my choice to open that workspace directly next time.
To show the question again at startup:
- Dashboard: Menu > Dashboard settings > Startup workspace > Reset.
- LiveLab: Settings > GENERAL > APP > Reset.
Where to go next
- Connect the RCP and add cameras in the Dashboard. LiveLab reuses these cameras to link metadata to a feed.
- Add a LUT box and build your first look in LiveLab.
Data and support
- Studio keeps settings, scenes, grades and stills in its data folder. LiveLab Settings > STORAGE shows the folder. You can move it there, for example to an external drive.
- Dashboard settings > Diagnostics > Export saves the crash log as a JSON file.
- For help, send an email to support@cyanview.com. Attach the crash log and tell us your Studio version and platform.